Posted on

Boxchip S700A Analog/DMR Video Review

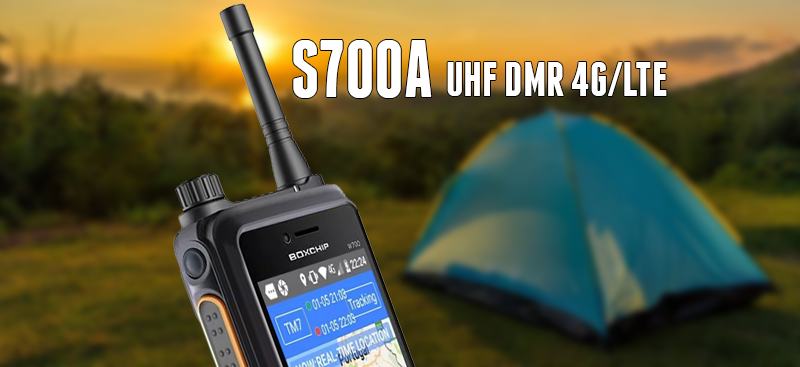
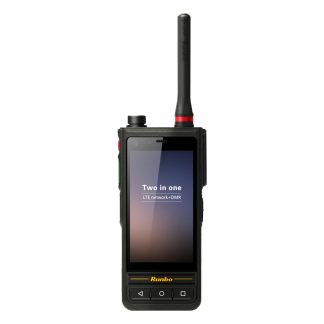
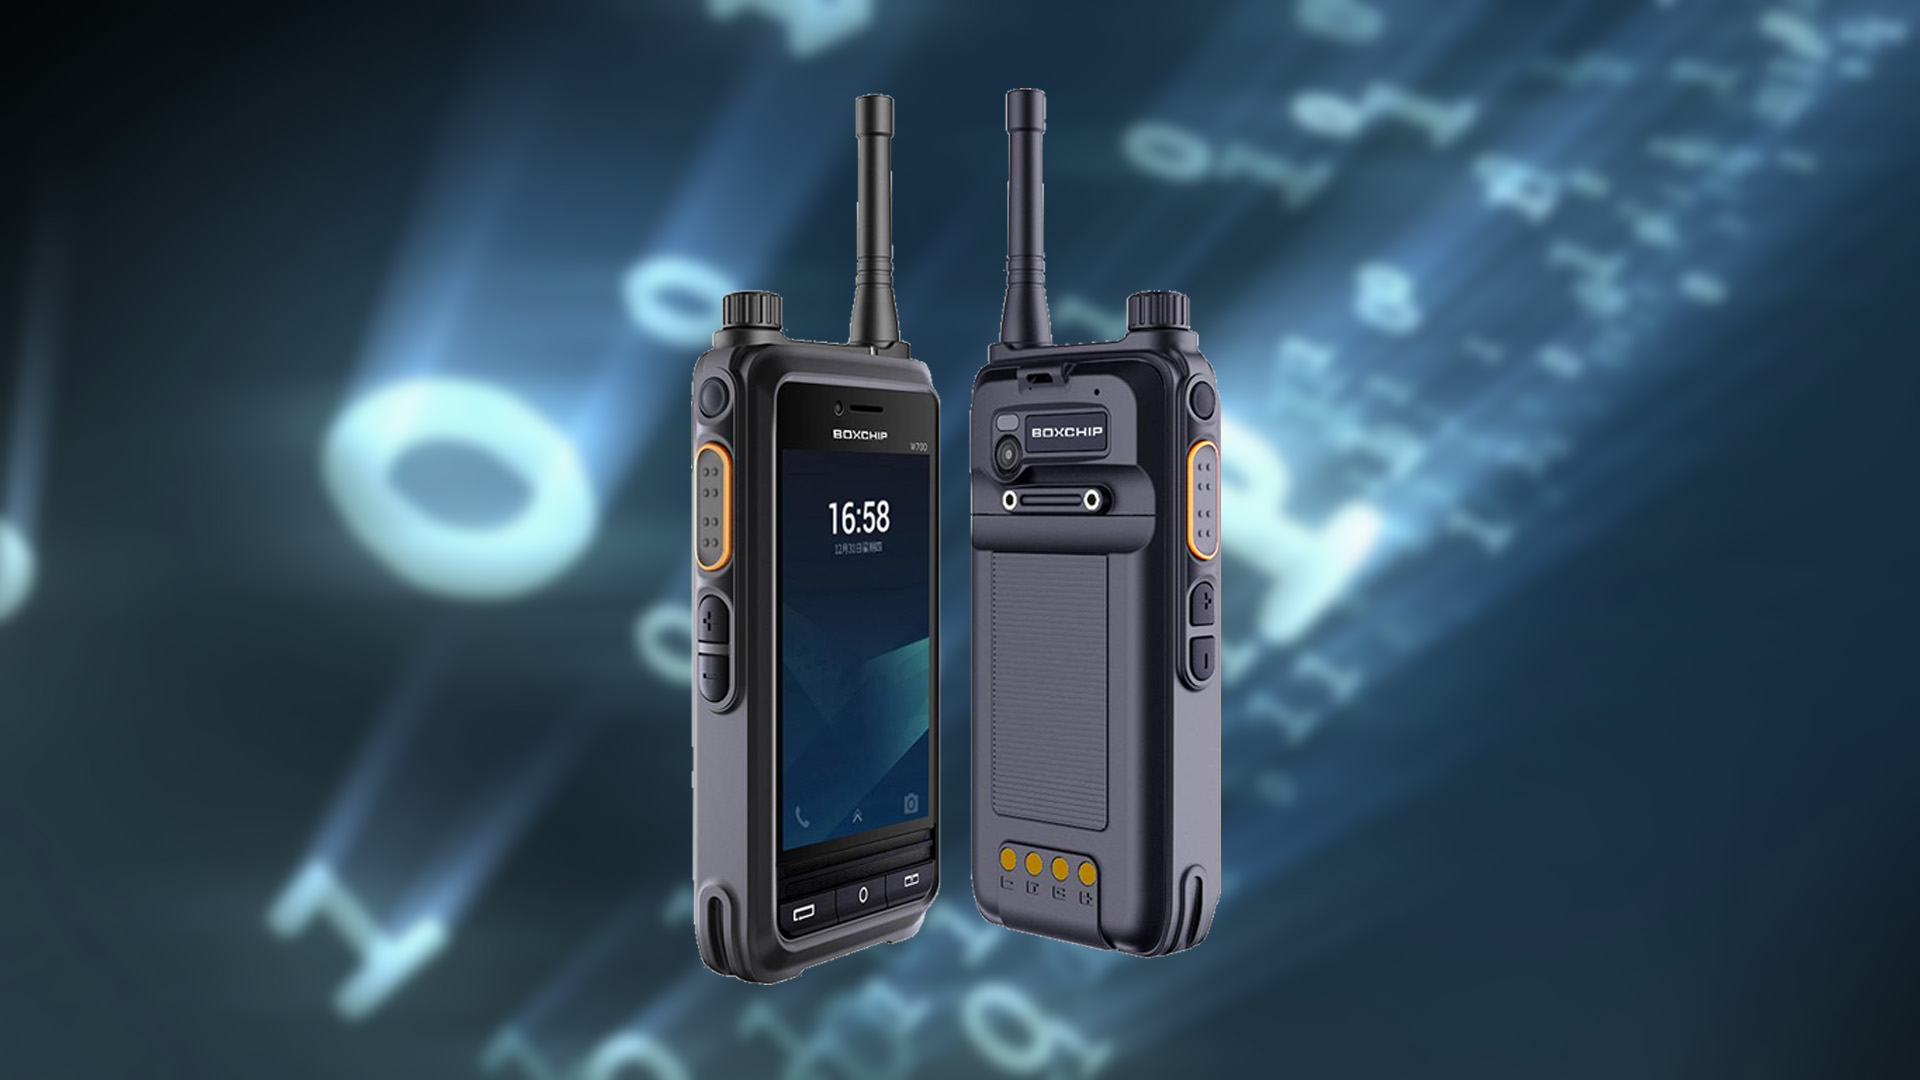
We are happy to announce a full video review of the Boxchip S700A – A DMR/Analog hybrid transceiver, with Android OS and capable of 4G/LTE. Available in VHF and UHF versions.

This video review features the UHF model.

You will love this radio and we prepared a discount for you. If you use promo code HRCDMR upon checkout you will have an extra discount and free shipping, no matter where you live.

Video by HamRadioConcepts

Order your Boxchip S700A Now

Posted on

How to program the Boxchip S700A DMR frequencies

1. Preparation

1.1 Requirements

Please make sure your Boxchip S700A has enough battery capacity at first.
1 piece of Type-C USB cable and a computer with Windows 7 or above is necessary. The .Net Framework version should be not lower than 4.0.
Install the BPS installation package to anywhere you want.

1.2 Enable USB Debugging

We need enable USB Debugging in your device due to BPS read and write customization files via USB. We can enable it follow these steps:
a) Power on device;
b) Select “Settings->About Phone”;
c) Click “Builder number” 3 times quickly and you will see a tip;
d) Go back “Settings”, there is a “Developer options” menu item above “About phone”;
e) Select “Developer options” and turn “On” it;
f) Pull down till “USB Debugging” and enable it;
g) Connect device with computer by Type-C USB cable. You may see a fingerprint confirm for first time, check and agree it.

1.3 Clear Old Version Customization

Open device from “My Computer” in desktop, CUT the old version customization files if there are – the old version customization files should be in path “S700A\Internal Storage\CONTACTLIST.xls” and “S700A\Internal Storage\ PTT_CHANNEL_LIST_DATA.xls”, you can store these 2 files to computer disk.

1.4 Install New Version APK

Copy “DMR_V014_sign.apk” to “S700A\Internal Storage\” and install it, then we can program device.

2. Programming

2.1 Select A Device

Generally, BPS will detect and select a device automatically when you opening as below screenshot. But please be noted that BPS doesn’t support multi-devices now.

Solution for BPS doesn’t detect a device, you maybe not need try every step:
a) Make sure “USB Debugging” is enabled;
b) Plug-pull USB cable several time;
c) Restart your device;
d) Restart your computer;
e) Install “adbdriver.zip” in your computer;
f) Finally copy “adb_usb.ini” to “C:\Users\Your Name\.android\”.

2.2 Read Customization

Click the green button to read customization from device, you will see “Model Number” and “Serial Number” is filled as below.
For first time you may get a read error due to there is no new customization in device, try write it then

read will be OK.

2.3 Write Customization

Customize all of parameters, then click the red button to write customization into your device.

Posted on

How to configure the Boxchip S700A Boxchip for DMR operation

This quick guide will explain how to program the DMR frequencies into the Boxchip S700A

First, please read “S700A DMR User Manual” to know how to set a DMR frequency.

Then, input the correct information into PTT Channel list & contact list excel sheets according to the user manual,

Finally, import these 2 sheets to your radio.

Read more about this great radio

Posted on

Zello on the Inrico T192 screenless radio

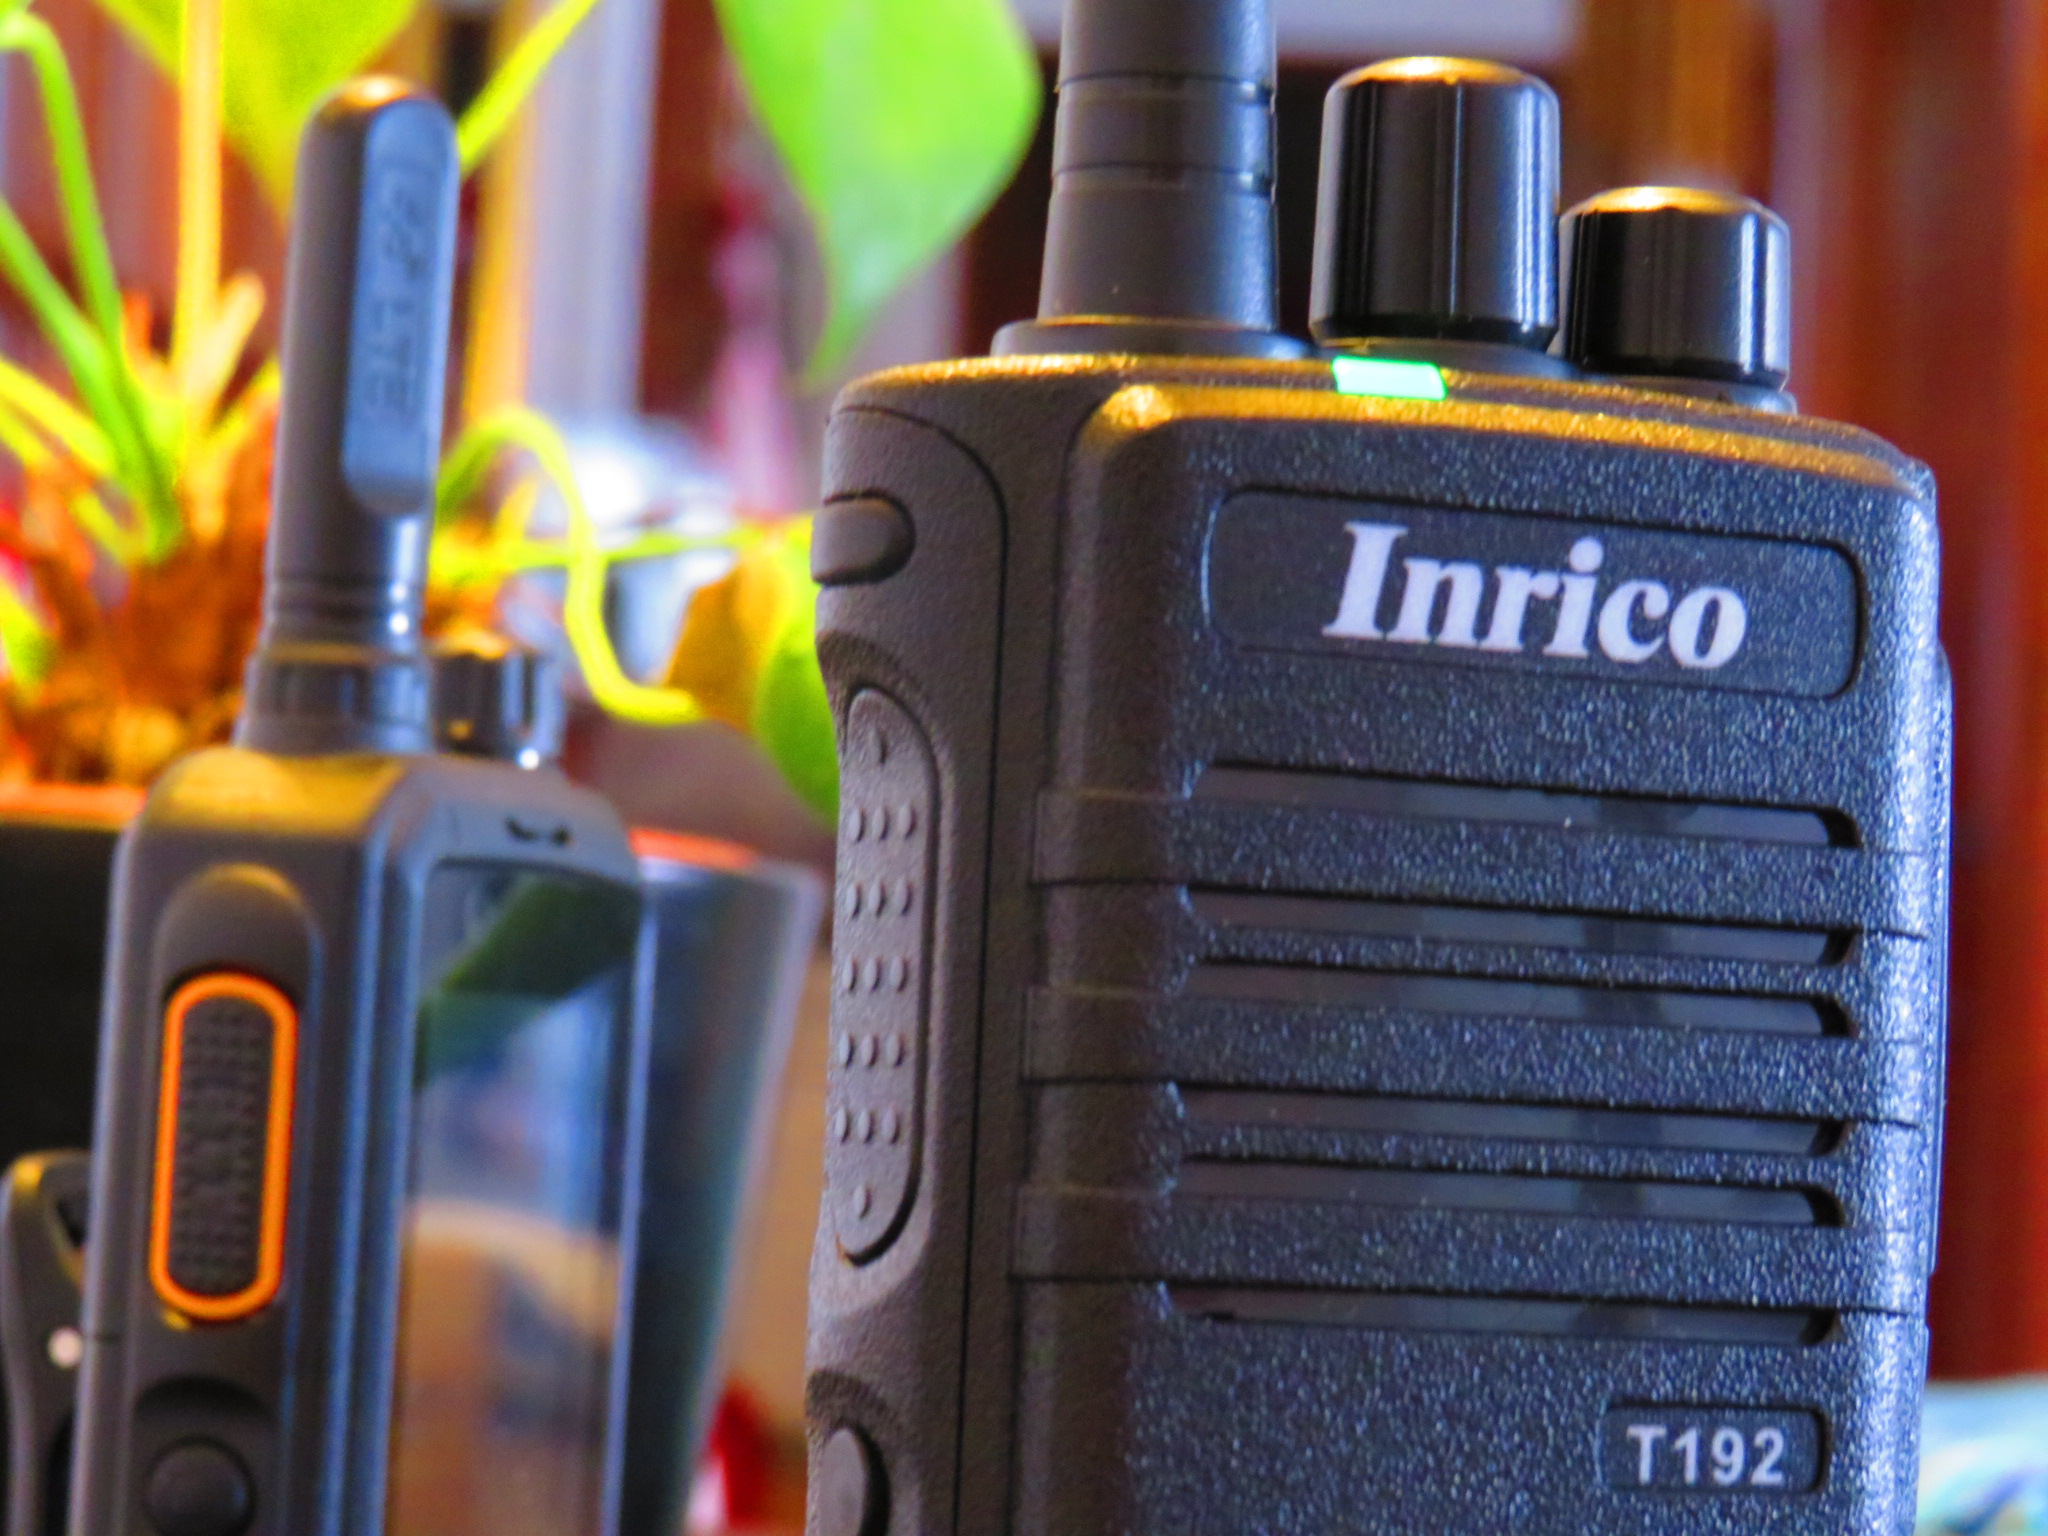
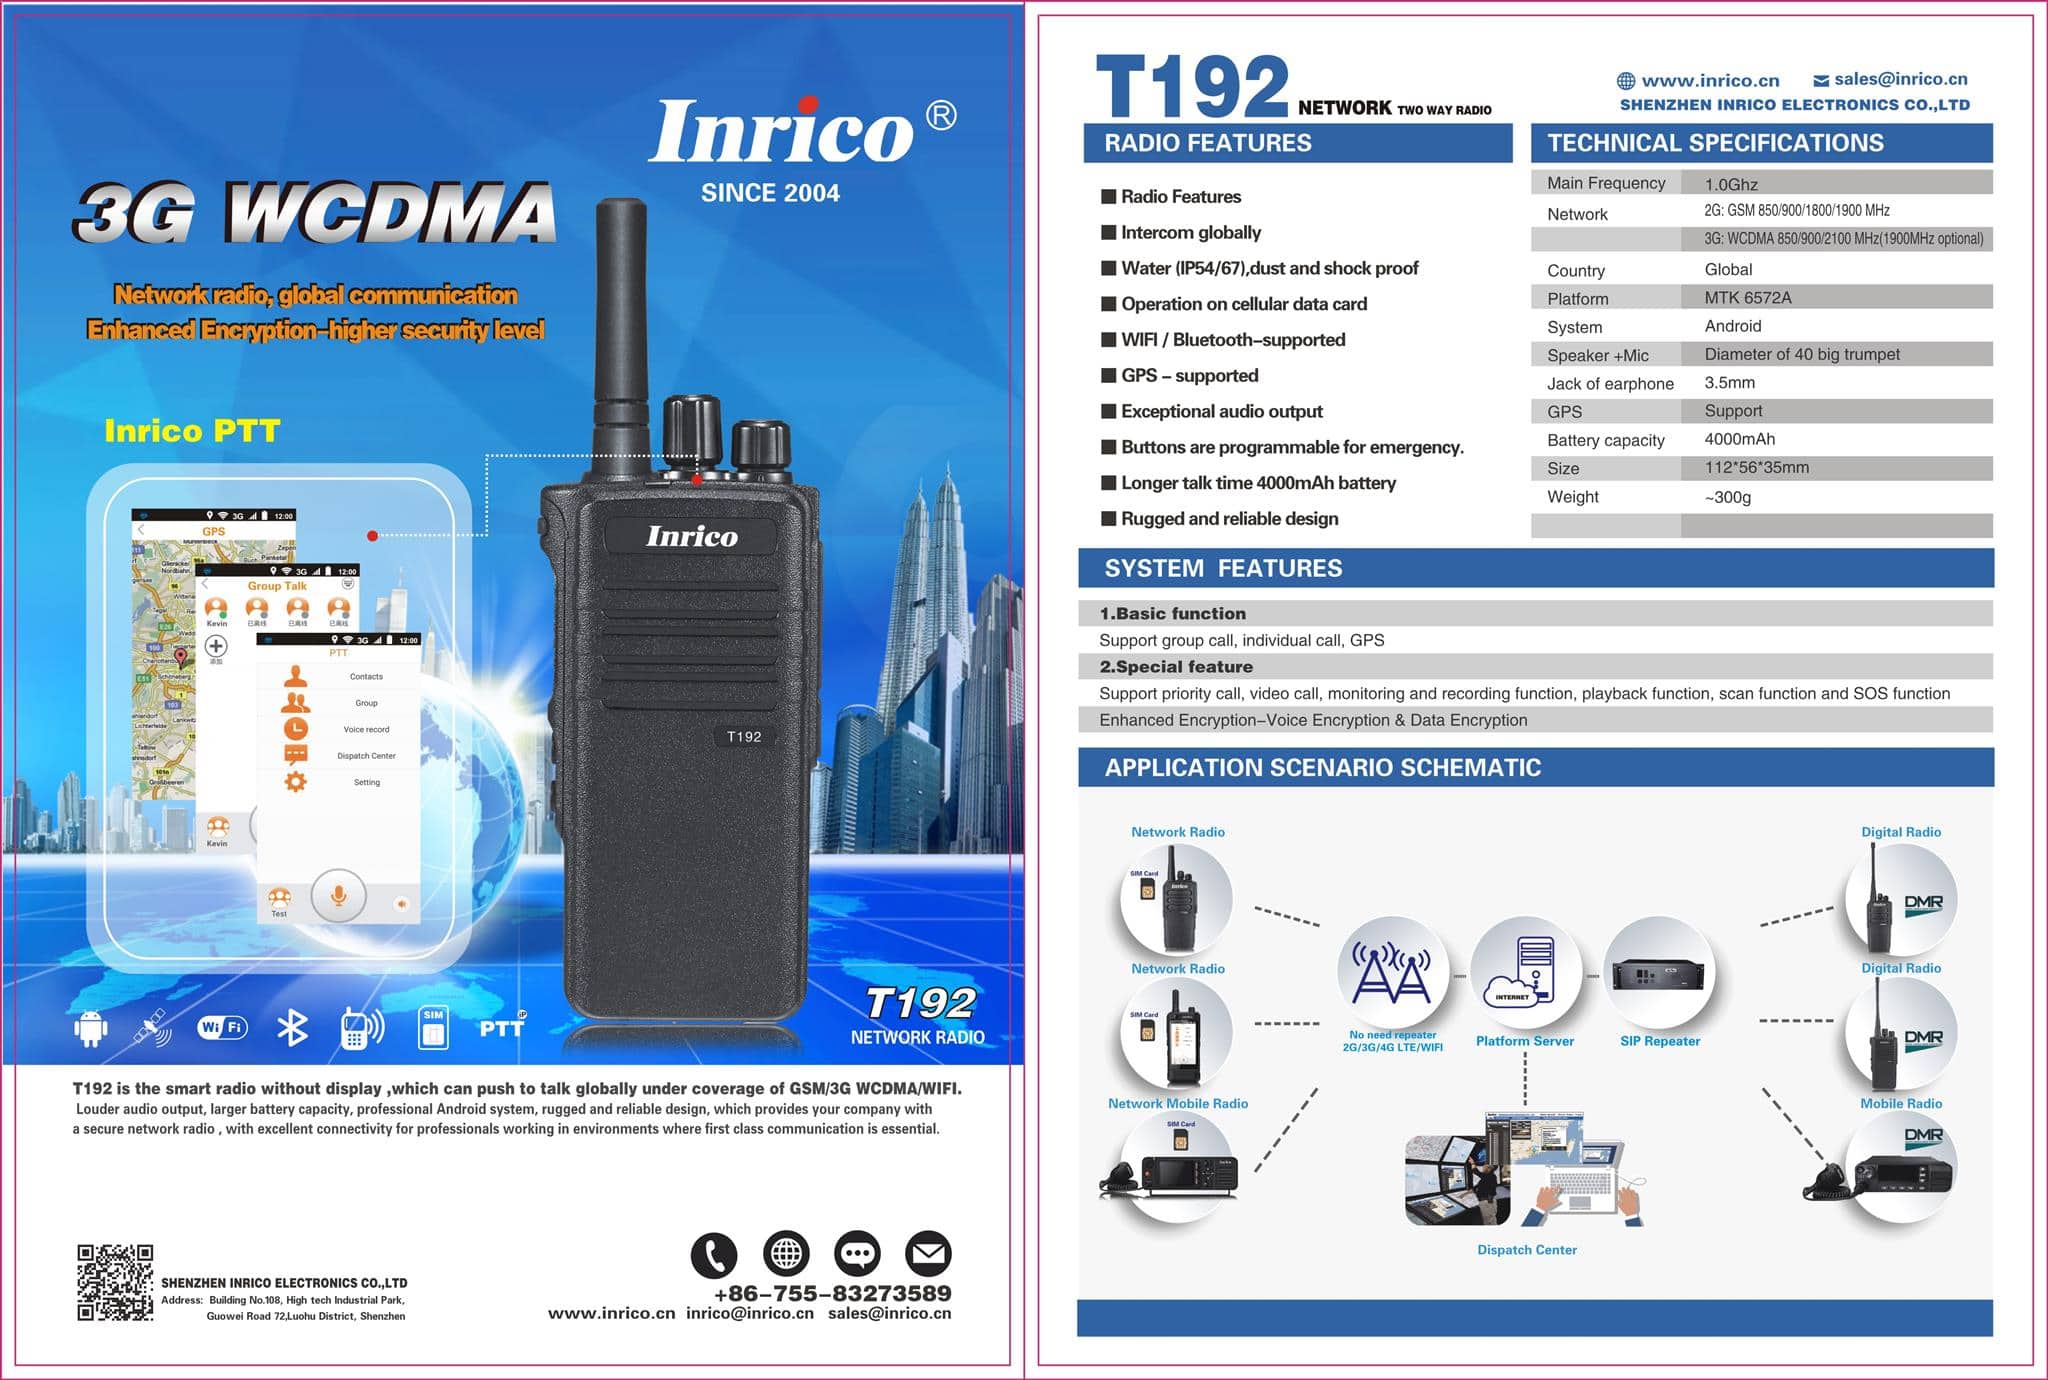
Exciting news for network radio enthusiasts! Inrico launched the T192, an improved version of the T199.
Although I am a big fan of the T199 I have to admit the T192 was a good move.

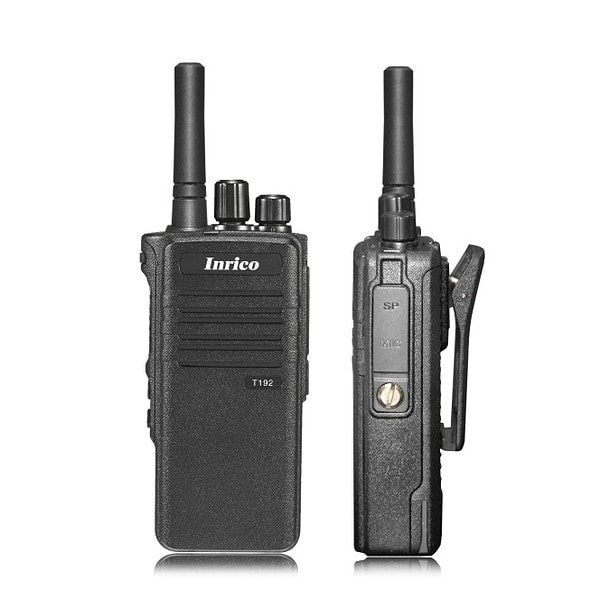
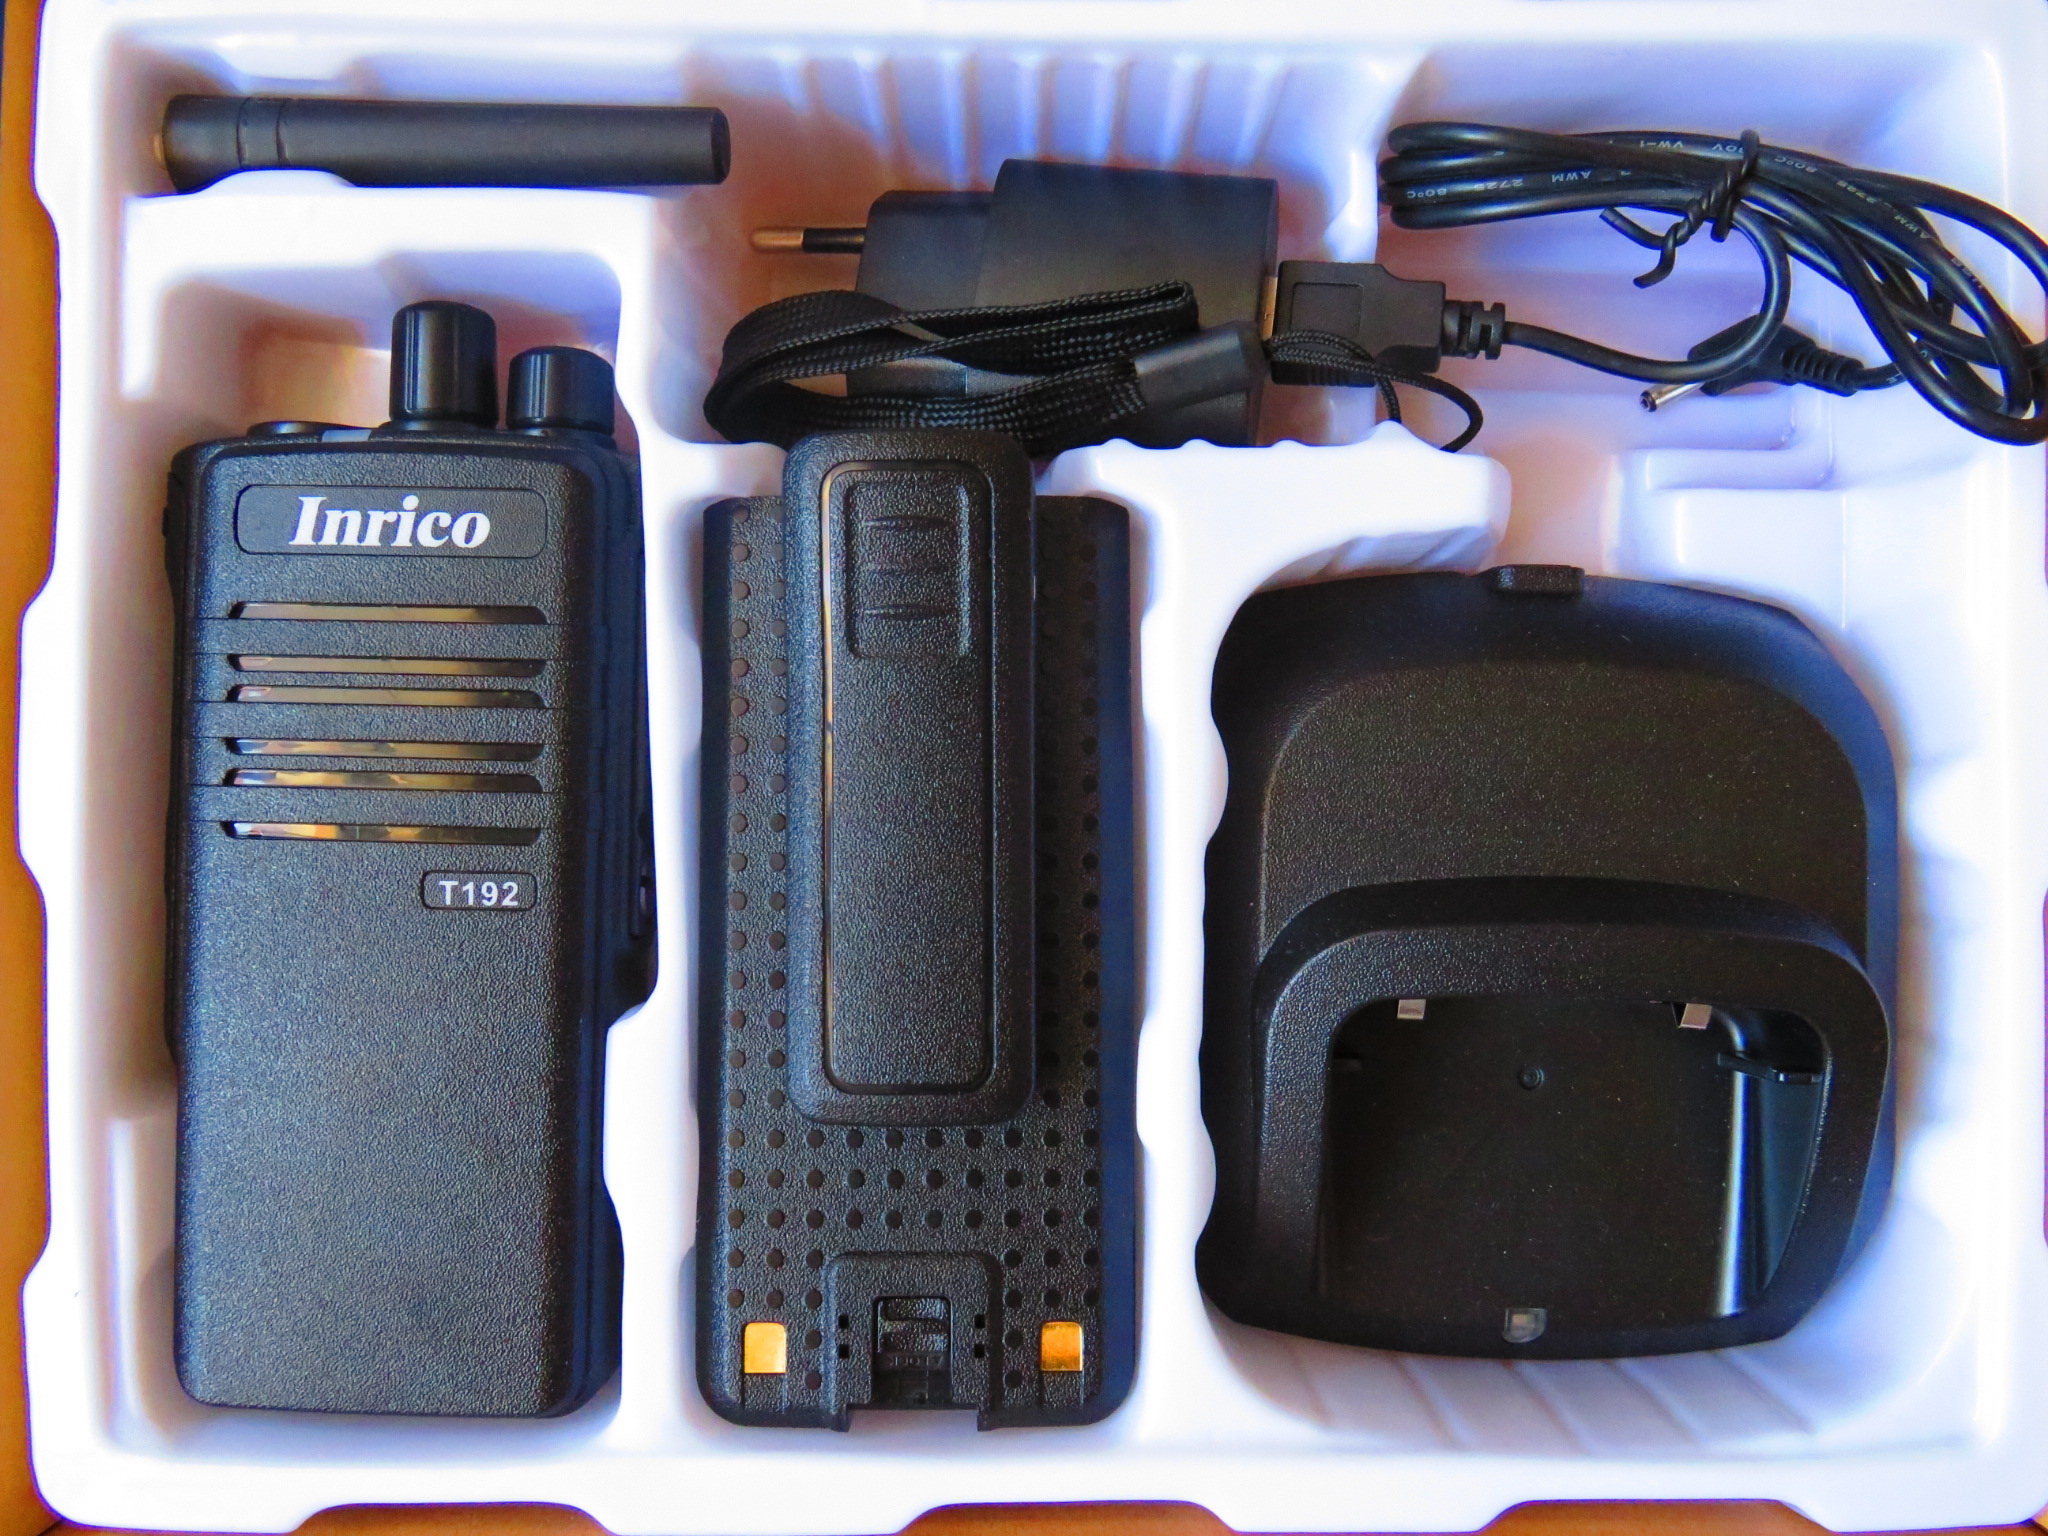
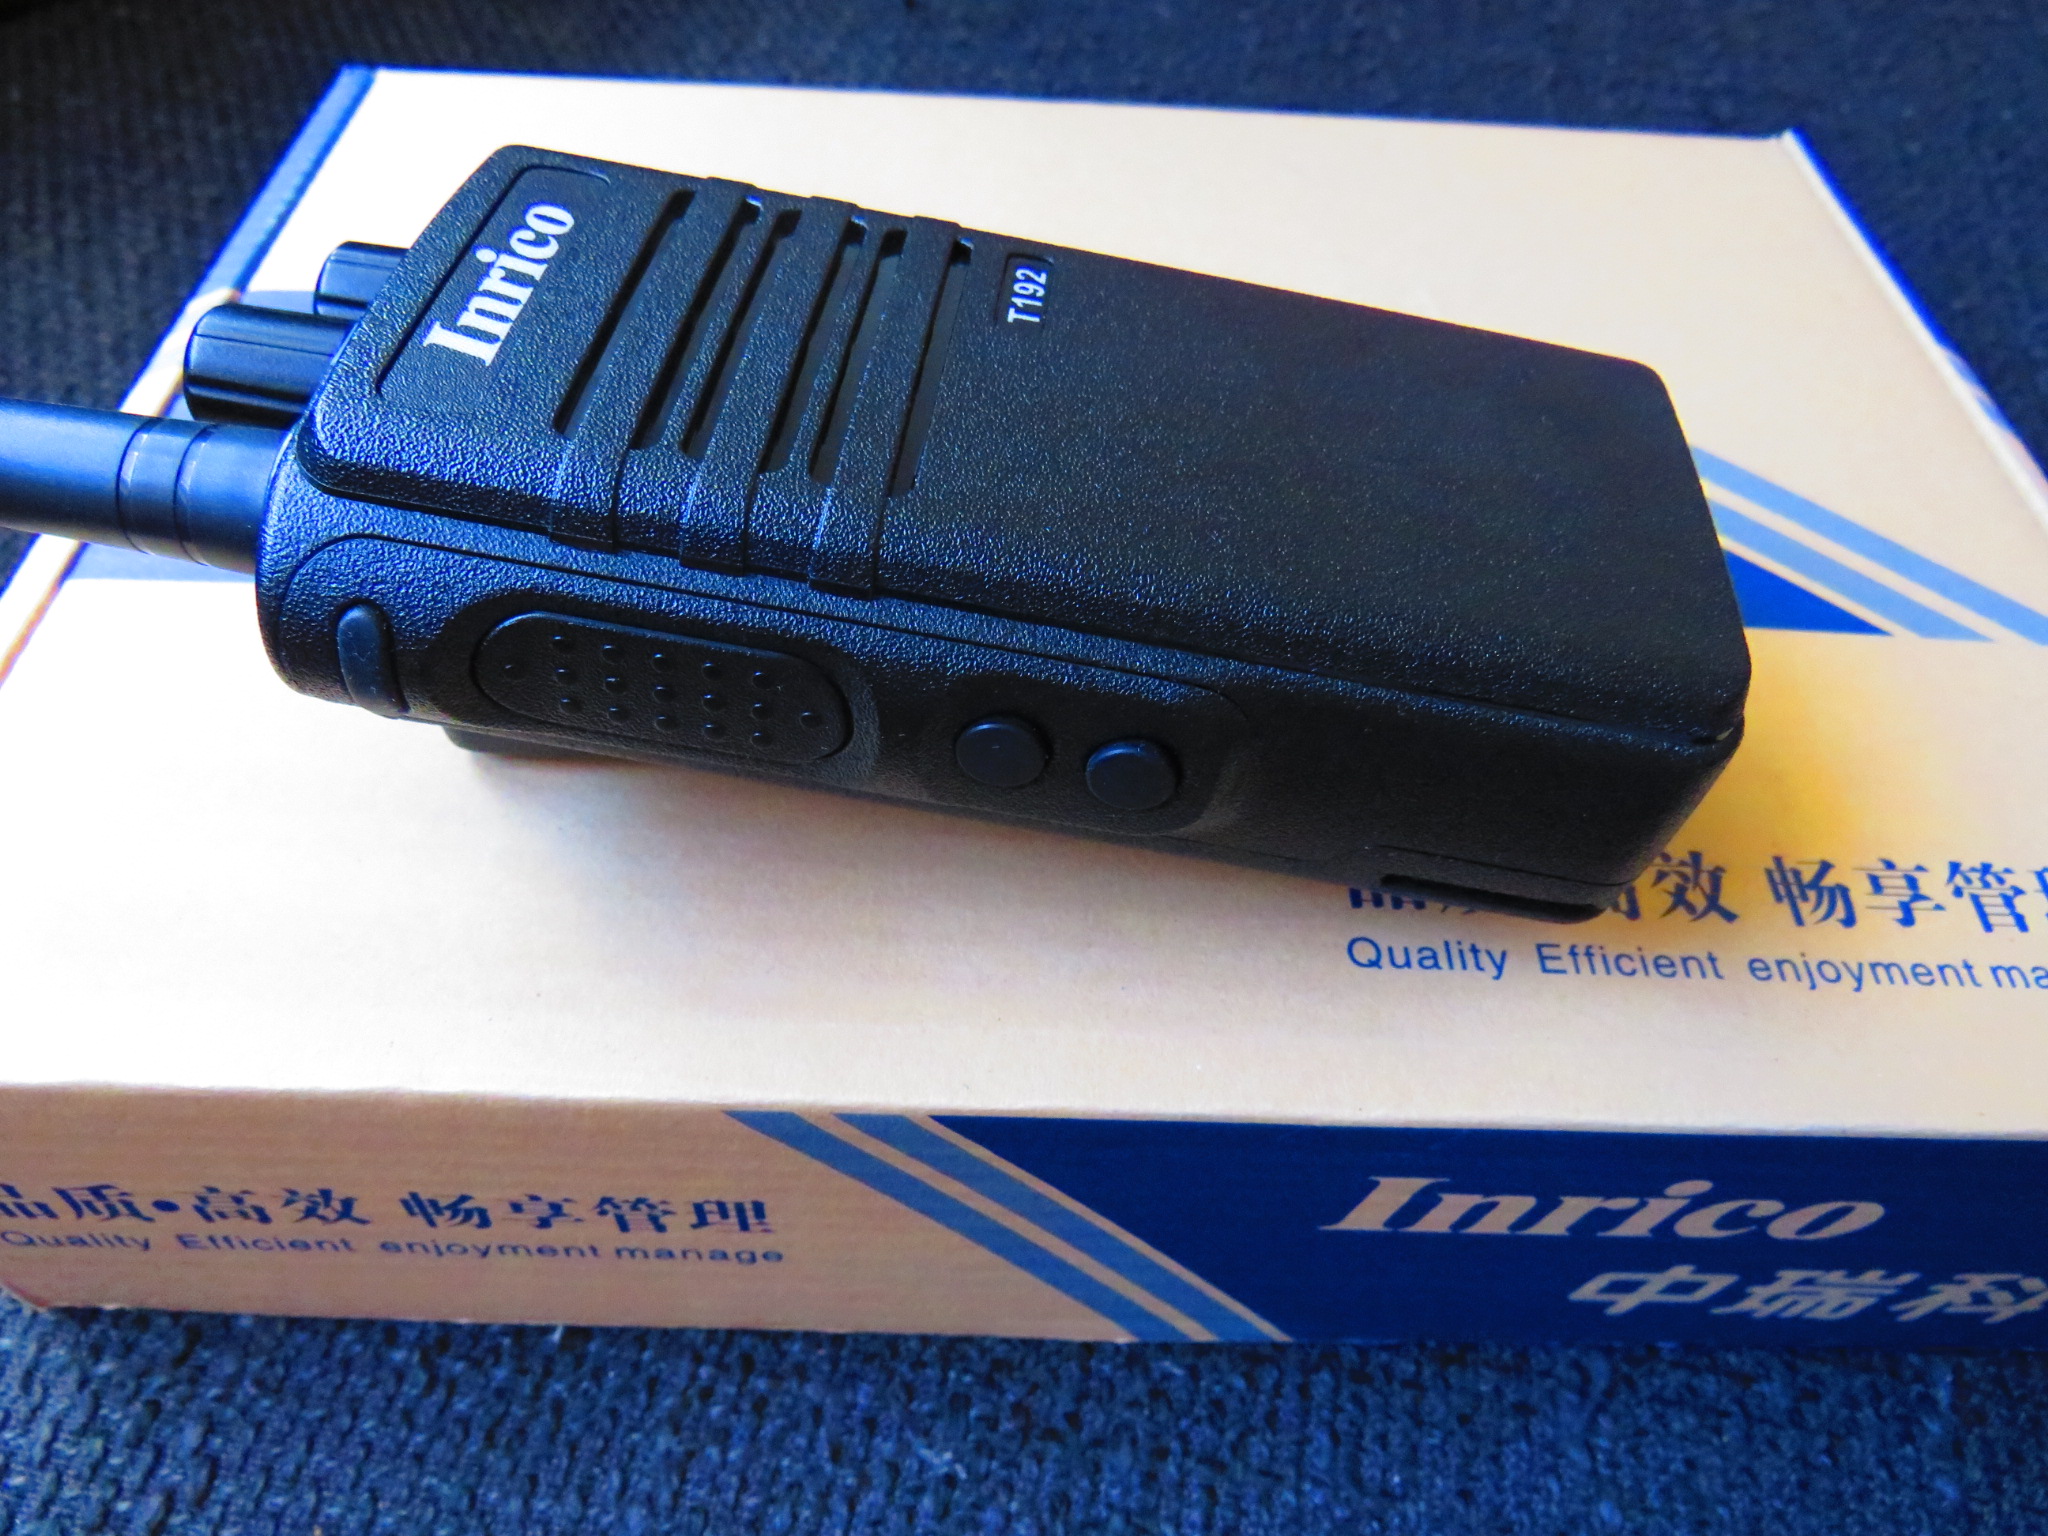
I will start with the design. The shape is rectangular, reminding the popular Motorola radios. I always found the T199 too small, reminding me a walkie-talkie for kids. The T192 is heavier, thicker, and above all, is IP54, unlike the T199.

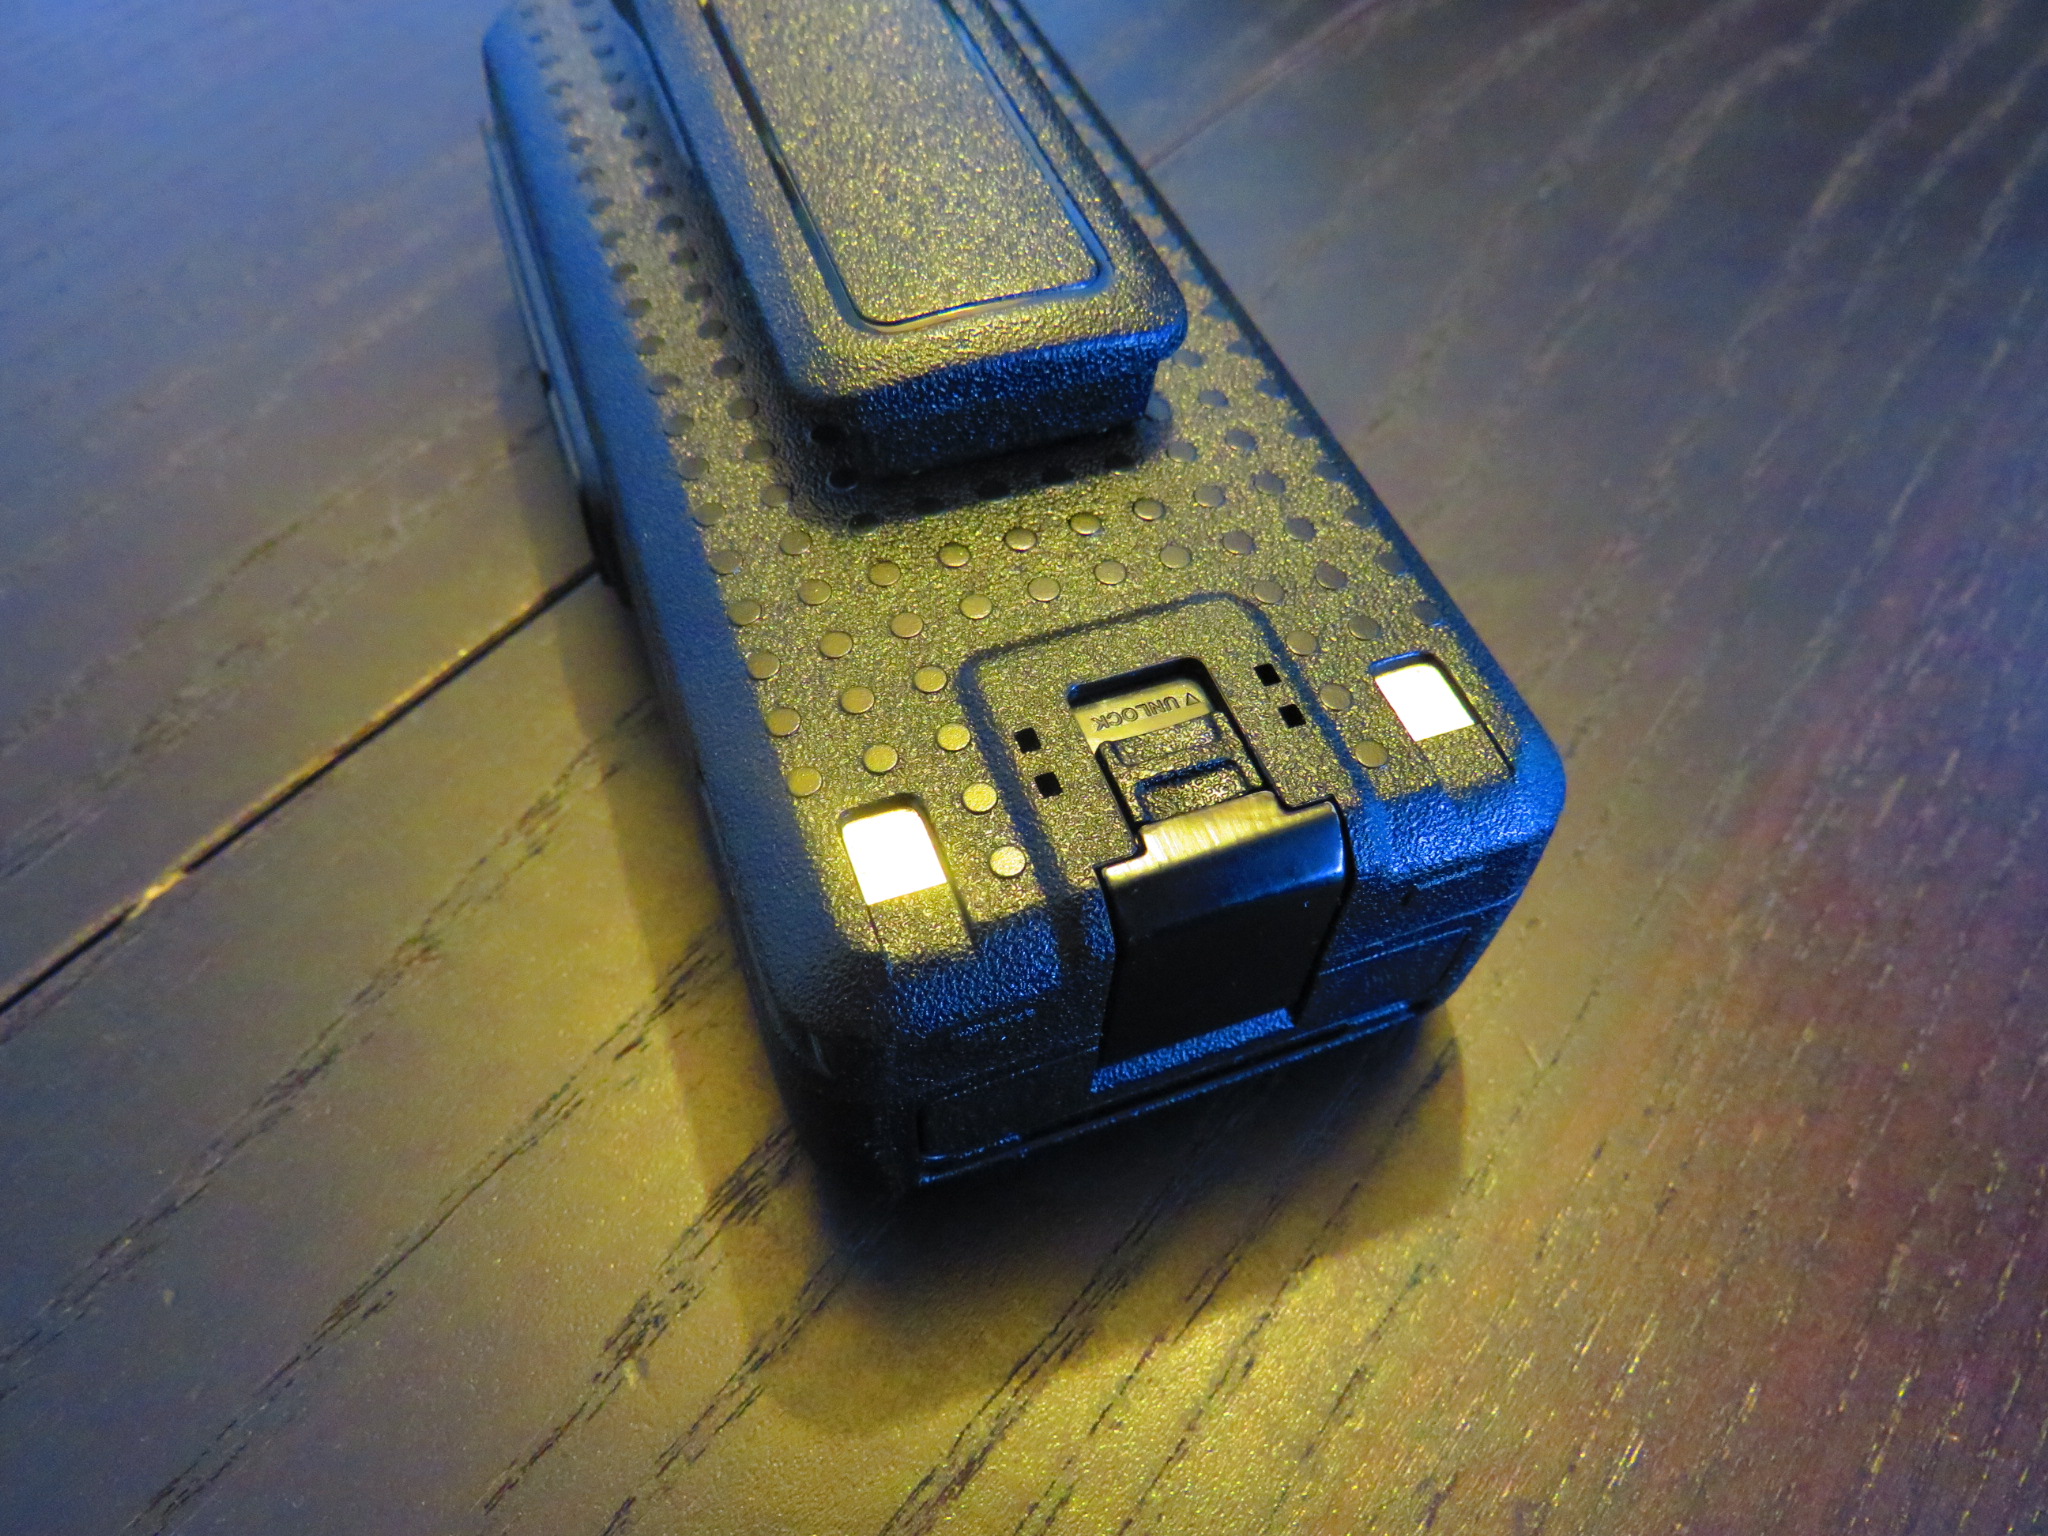
To give extra security, the battery has its own locker (I doubt you could accidentally remove the battery even without using the secondary locker). These small details make the T192 a really rugged radio!

The audio, as usual can be set to a real high volume, while maintaining a crisp-full speech sound. I am sure this radio will be a top seller.

As you probably know, these radios are built for professional use and run services like PTT4U. So they don’t want the users to mess up with the settings and installing unwanted apps. With such, on the T192, Inrico removed the USB socket so a “normal” user would not make any changes to the configuration.

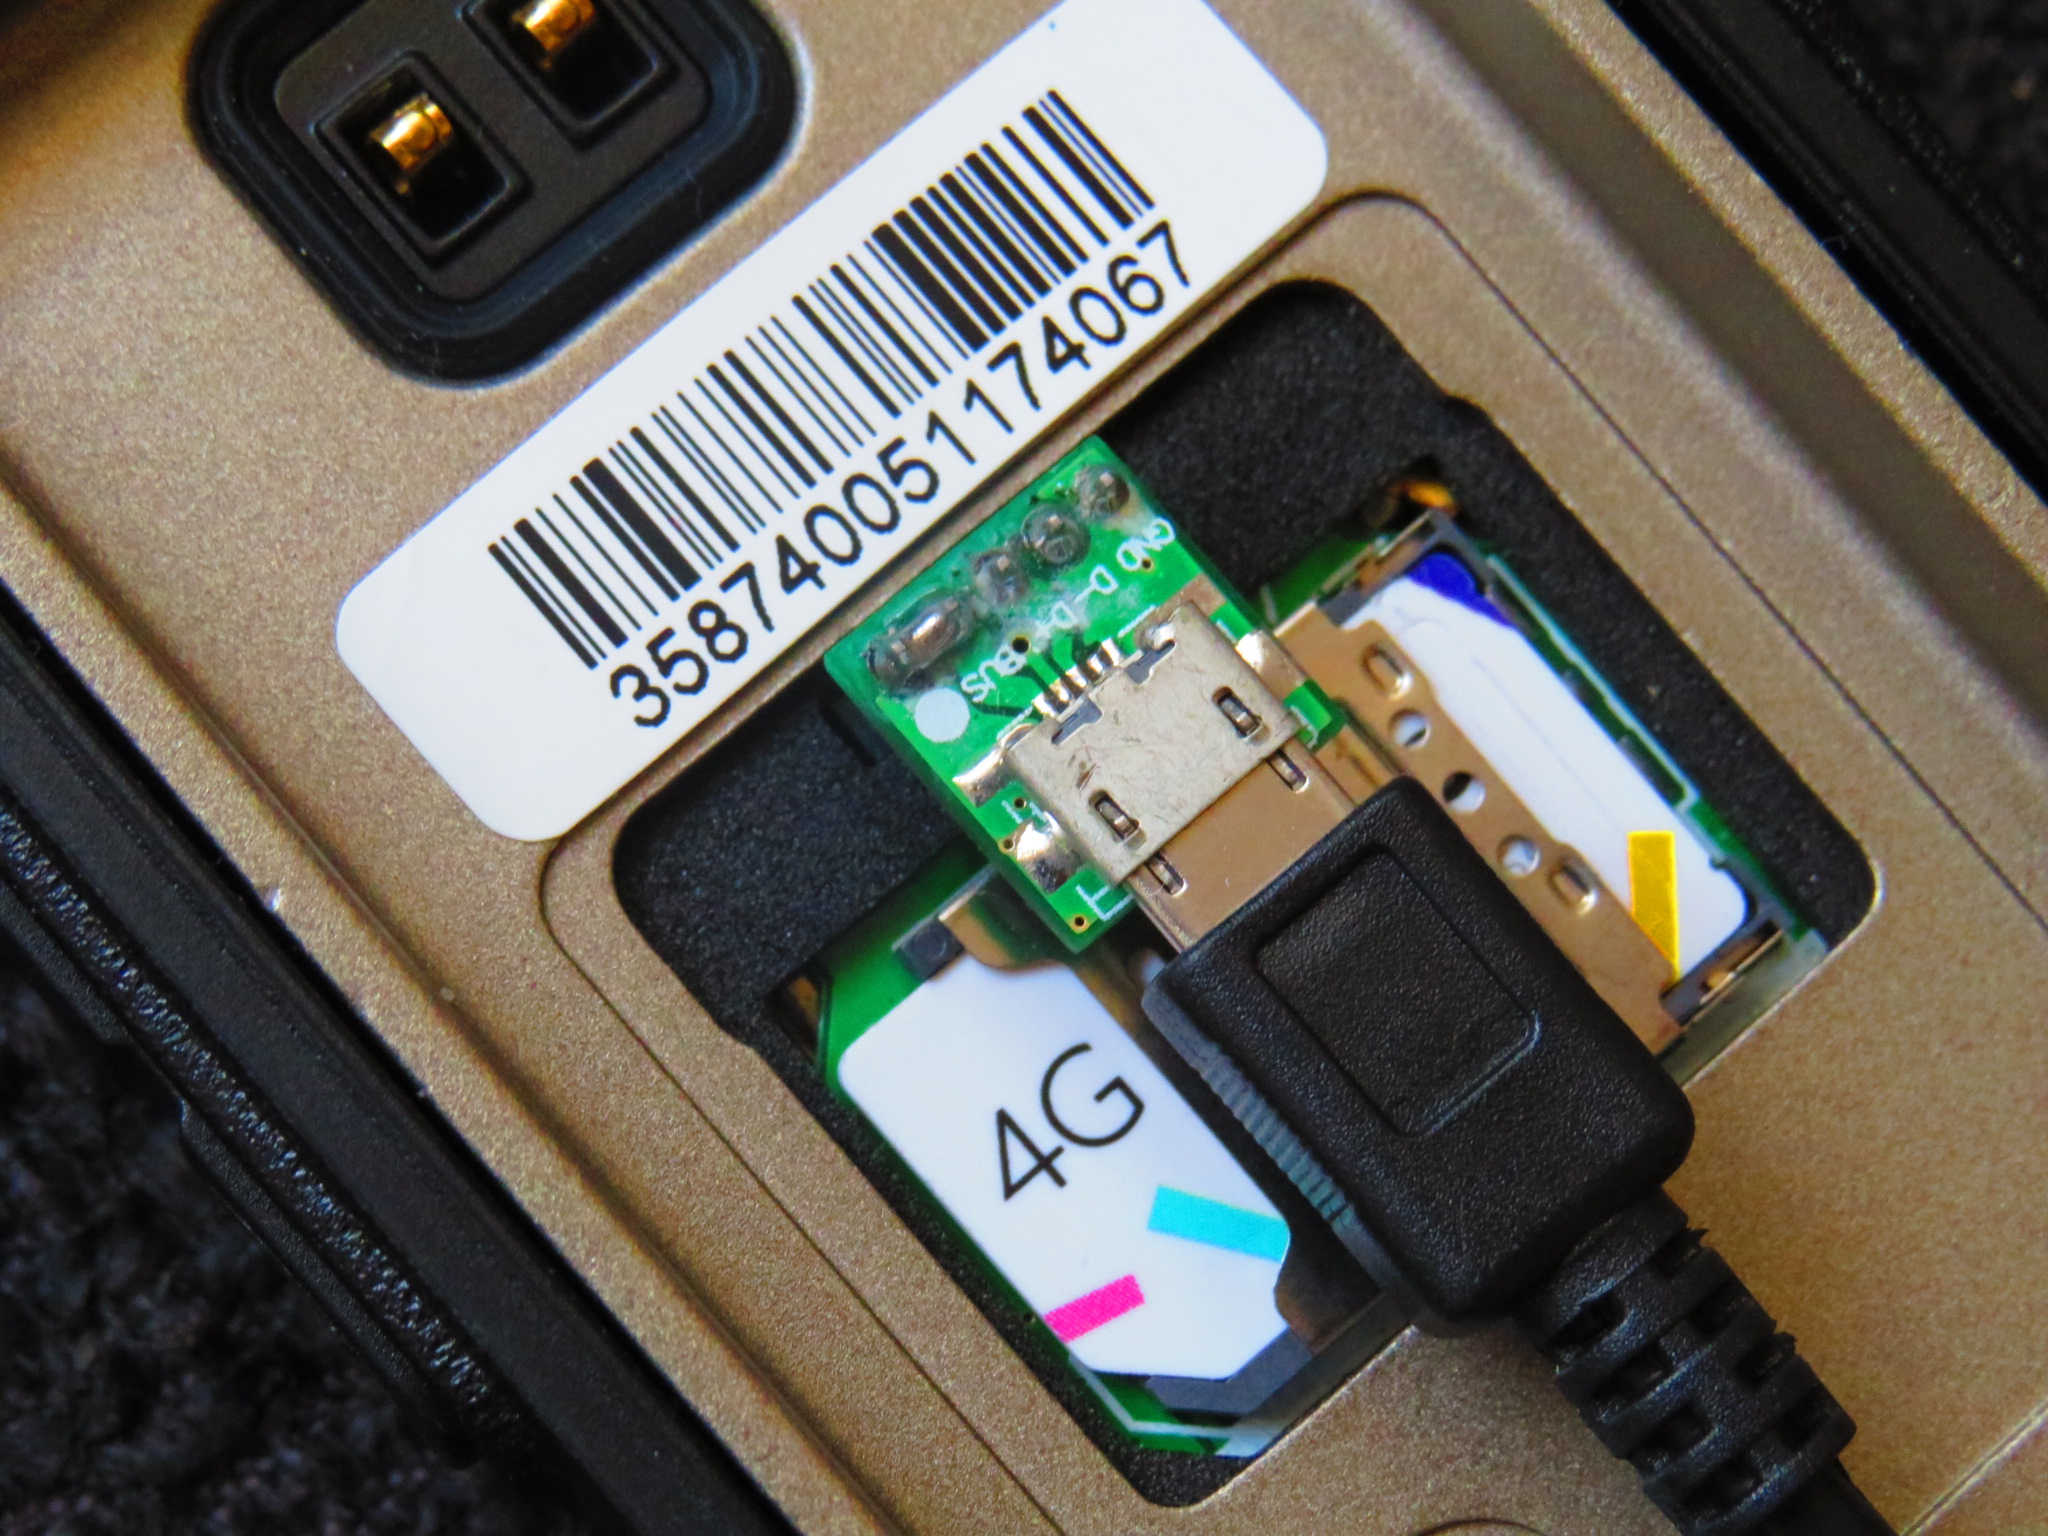
The USB is still there, although it’s hidden. You must attach a small 5-pin adapter (included with the programming cable) and make all the configurations to the radio, using TotalControl software.

All network settings must be done via the mic/earphone sockets, using the programming cable. You will need this Software and the UART drivers to use it.

Since V4.14, Zello is 100% compatible with the T192. You can change volume, use the PTT button and select channels using the dial knob. You just need to follow the configuration steps released by Zello.

Where to purchase the T192?

Order your T192 here

Posted on

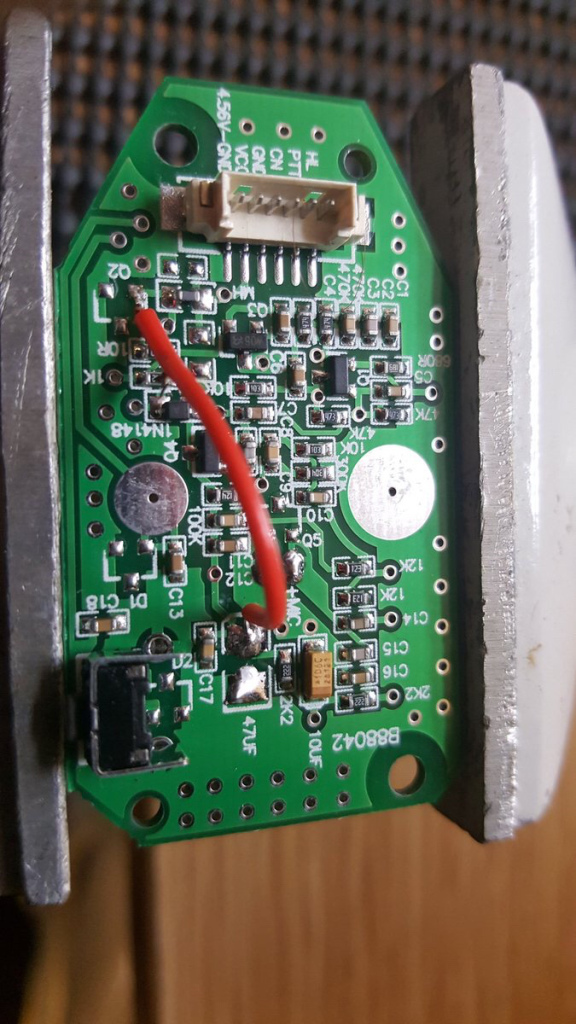
Improvement / adjustment of the standard microphone of the Inrico TM-7

From various stations I was told that the modulation of my TM-7 was rather shrill.
On this I decided to replace the standard microphone (internal) with an electret microphone.
In order not to burden the TM-7 extra, I decided not to extract the required voltage from the device (via the microphone connector) but to use an external power supply for the electret microphone.
This requires:

1 – Three wire electret microphone (with separated + wire)

1 – Button cell battery

1 – Button cell holder

I have connected the new microphone according to the diagram below.

After a number of QSO’s tests, the adjustment proves to be a huge improvement on the standard situation. The modulation is said to be nice and full and not that sharp anymore.

by Marcel Goedemans