When choosing between two top-tier DMR (Digital Mobile Radio) handheld radios like the AnyTone AT-D878UVII Plus and the Radioddity GD-88, it’s essential to understand their key features, performance, and usability. Here’s a detailed comparison to help you decide which suits your needs best.
1. Build and Design
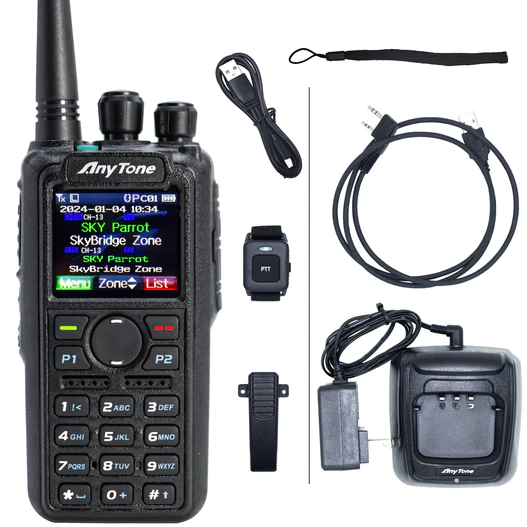
- AnyTone AT-D878UVII Plus:
Compact and sturdy, this model has a rugged design suitable for both amateur radio enthusiasts and professional use. It features a large color LCD display and intuitive button layout, making it user-friendly even in low-light conditions. - Radioddity GD-88:
The GD-88 also boasts a robust build with a slightly larger frame. It comes with dual PTT (Push-To-Talk) buttons, which is a notable advantage for users needing to switch between channels quickly. Its backlit color display is clear, but some users may find it slightly smaller than the AnyTone’s.
2. Frequency Range and Modes
- AnyTone AT-D878UVII Plus:
Covers 136-174 MHz (VHF) and 400-480 MHz (UHF), supporting analog and digital DMR modes (Tier I & II). It also features APRS for both transmitting and receiving, which is great for location tracking during outdoor activities. - Radioddity GD-88:
Similar frequency coverage with 136-174 MHz and 400-470 MHz. The GD-88 also supports dual-band operation in analog and DMR modes. However, its APRS functionality is limited to transmission only.
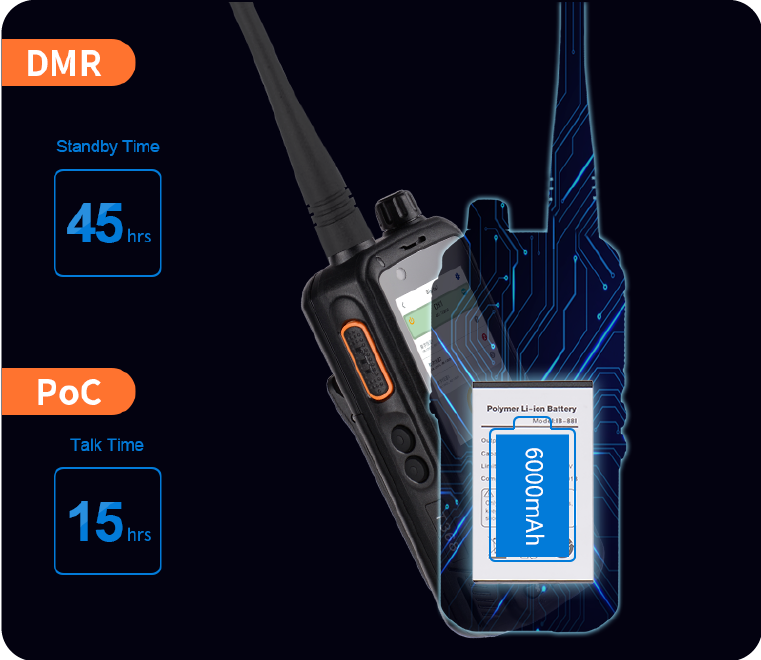
3. Battery Life and Power
- AnyTone AT-D878UVII Plus:
Comes with a 3100mAh battery, providing up to 35 hours of standby time. This extended battery life is a strong point, especially for fieldwork or long trips. - Radioddity GD-88:
Equipped with a 2200mAh battery, offering up to 20 hours of usage. While it’s sufficient for most users, it falls short compared to the AnyTone’s battery capacity. However, it supports quick charging, which is a plus.
4. Audio Quality and Performance
- AnyTone AT-D878UVII Plus:
Delivers clear and crisp audio with adjustable power settings (up to 7W). It features advanced noise reduction and customizable EQ settings for enhanced voice clarity. - Radioddity GD-88:
Provides solid audio quality with dual speakers for stereo output, making it slightly superior in noisy environments. The dual-PTT setup also allows monitoring two channels simultaneously with clear separation of audio streams.
5. Programming and Customization
- AnyTone AT-D878UVII Plus:
Known for its user-friendly CPS (Customer Programming Software), it allows extensive customization, including creating codeplugs, setting up digital contacts, and configuring APRS. It also supports Bluetooth, making wireless programming and connectivity easier. - Radioddity GD-88:
Programming is straightforward but slightly less intuitive compared to AnyTone. However, it offers robust features such as cross-band repeater functionality and dual PTT customization.
6. Additional Features
- AnyTone AT-D878UVII Plus:
- Built-in Bluetooth for wireless connectivity.
- GPS and APRS for both TX and RX.
- Supports Roaming between repeaters, ensuring consistent connectivity.
- Radioddity GD-88:
- Cross-band repeater functionality, allowing it to relay signals between different frequencies.
- Dual-PTT operation is a significant advantage for managing multiple channels.
- GPS and APRS support (transmit-only).
Conclusion: Which One Should You Choose?
- Choose the AnyTone AT-D878UVII Plus if:
You need a radio with longer battery life, full APRS functionality, and Bluetooth connectivity. It’s ideal for users who value extended outdoor use and advanced programming options. - Choose the Radioddity GD-88 if:
You prefer dual-PTT operation, stereo audio output, and cross-band repeater capabilities. It’s a solid choice for managing multiple channels in professional or crowded environments.
Both radios offer excellent performance in the DMR segment, but their distinct features cater to slightly different user needs.
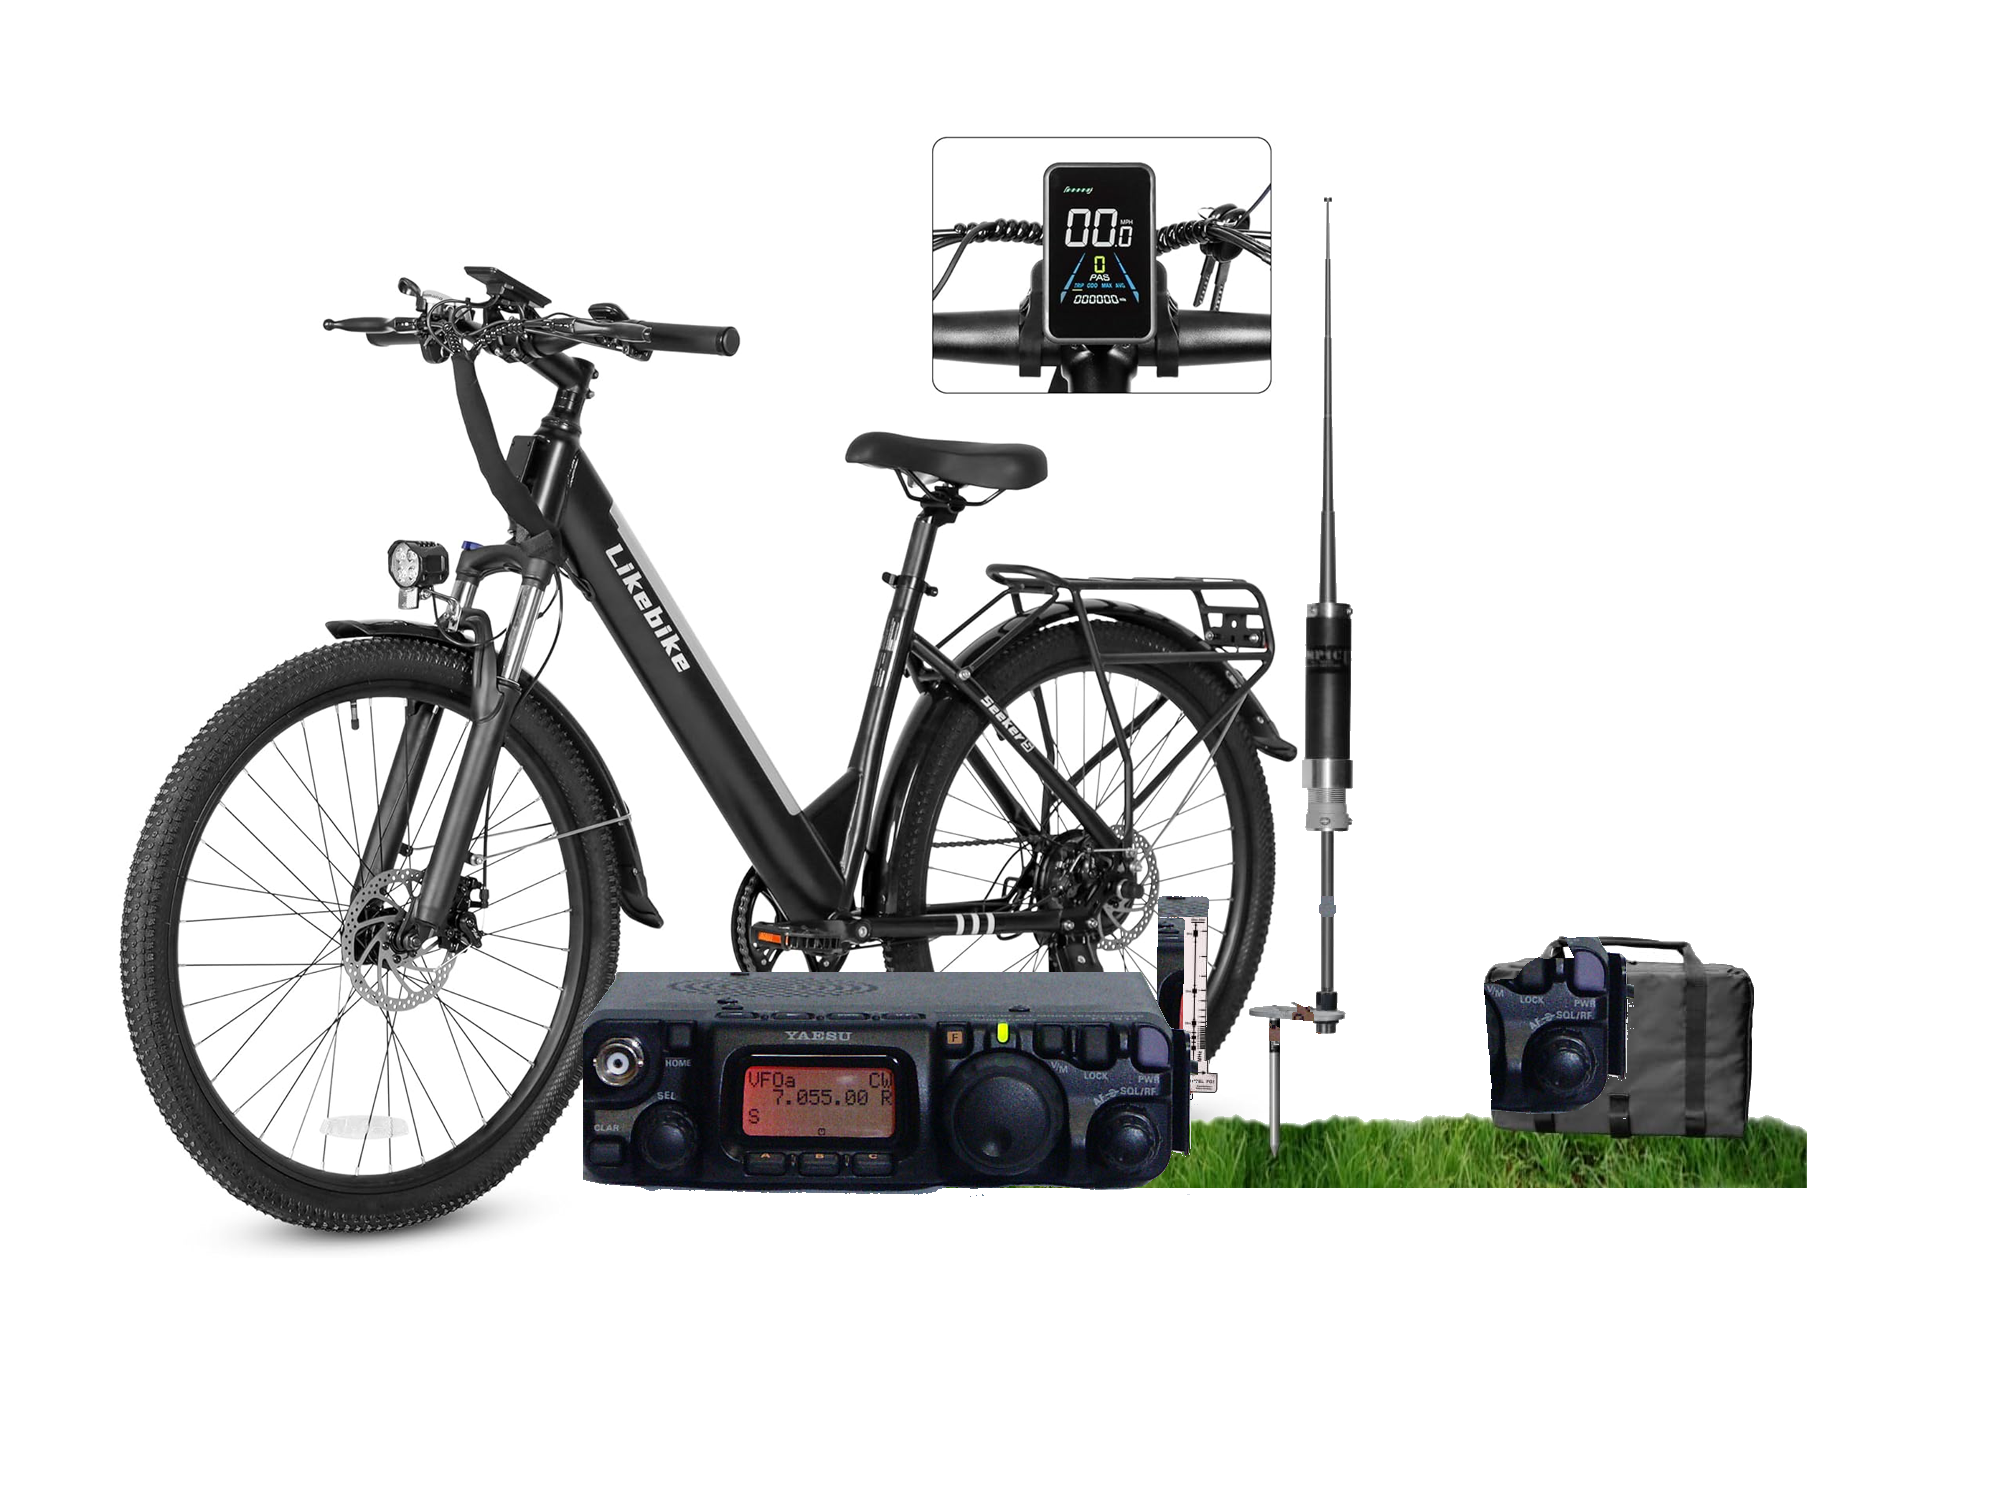
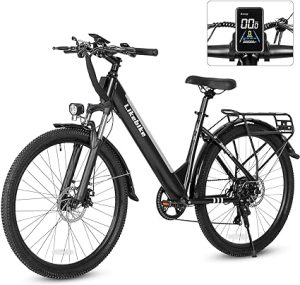 E-bikes are a game changer for portable radio operations, allowing you to travel further and climb steeper terrain without breaking a sweat. With electric assistance, you can conquer challenging inclines and trails that would otherwise be exhausting on foot. For this, I recommend the
 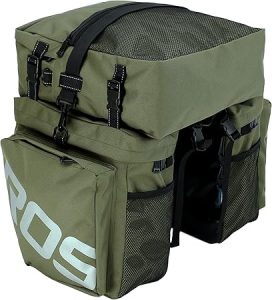 Once you’ve got your e-bike ready, you need to make sure your gear is securely packed and easy to carry. A good pair of durable panniers, like the
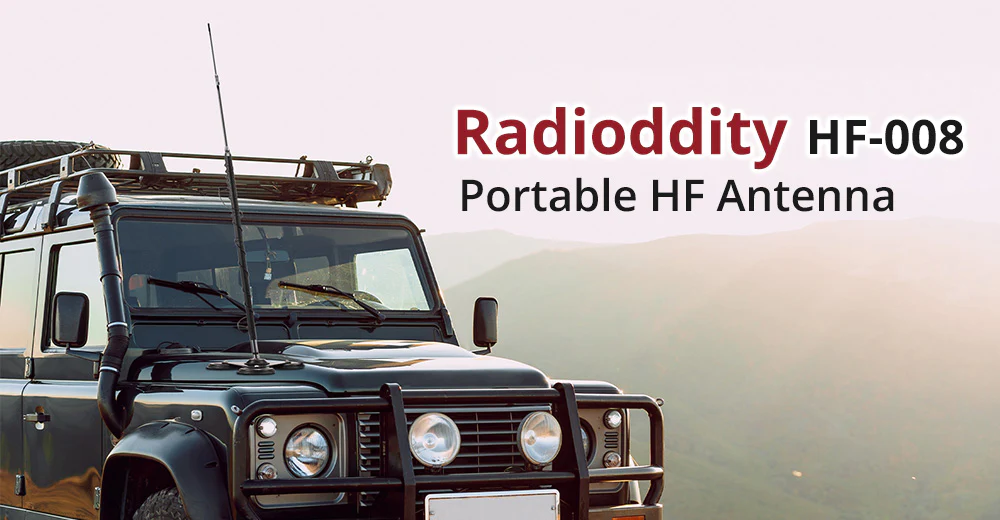
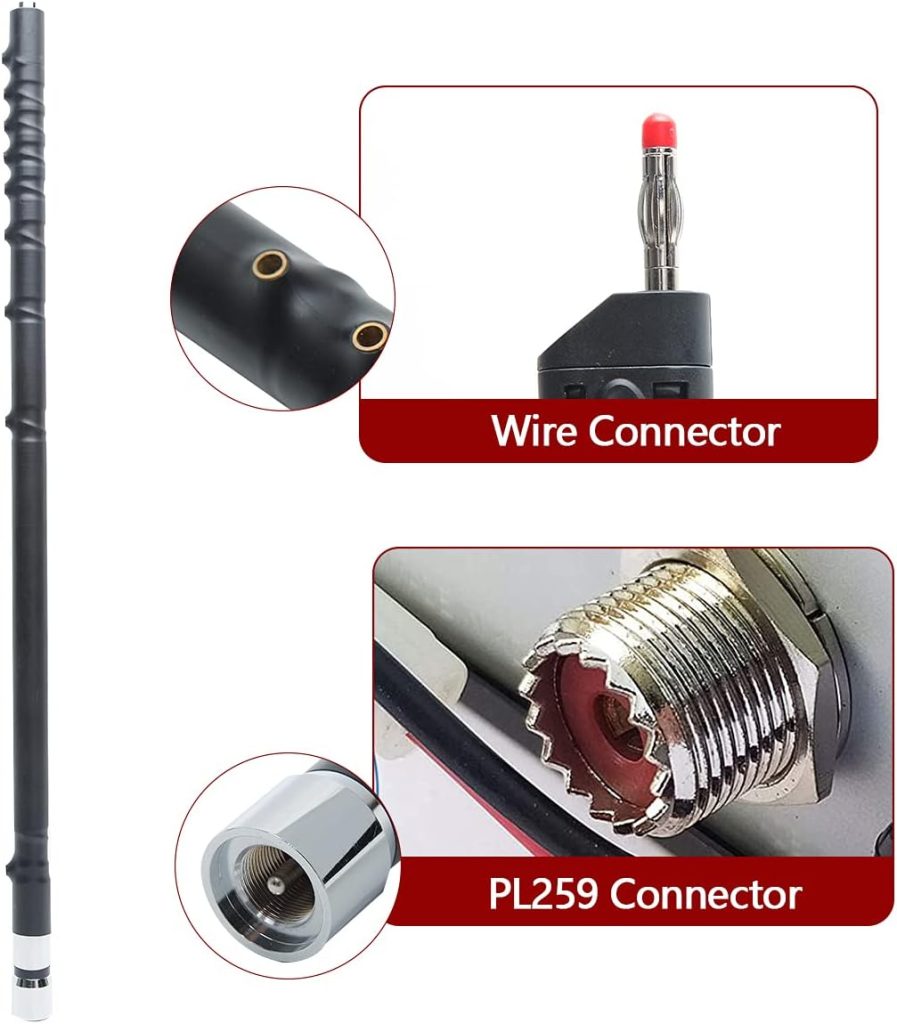
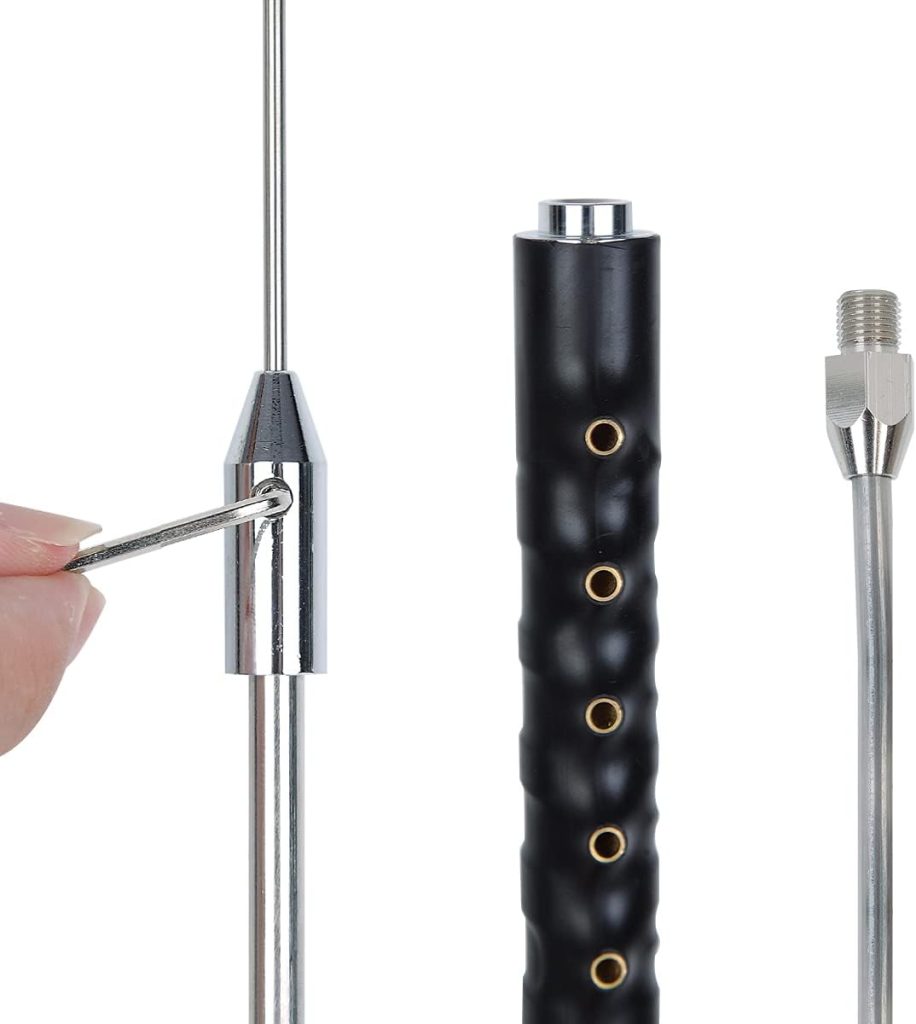
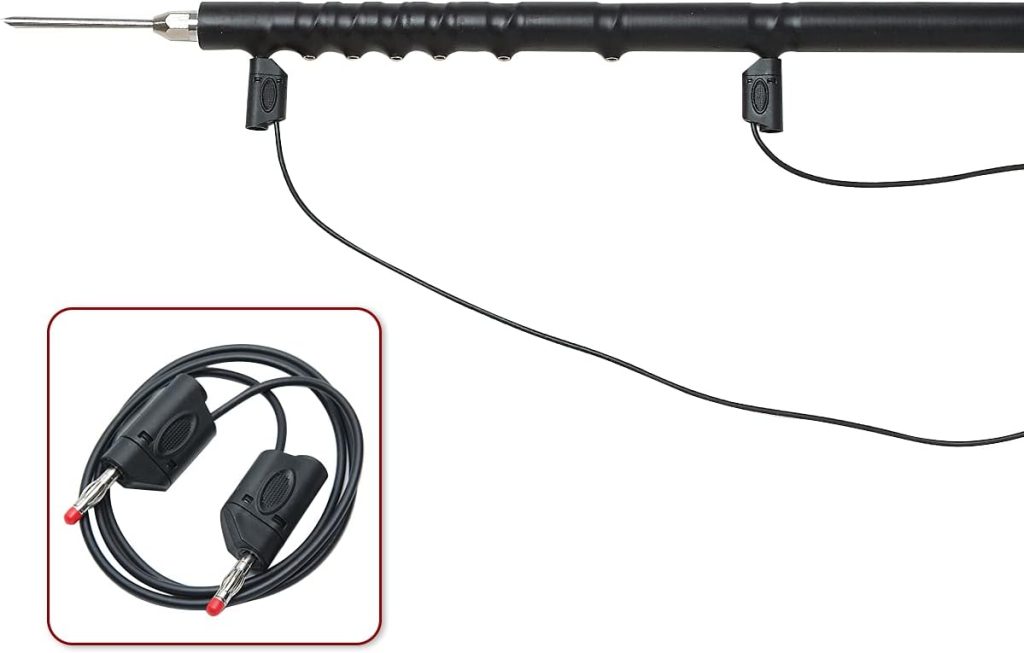
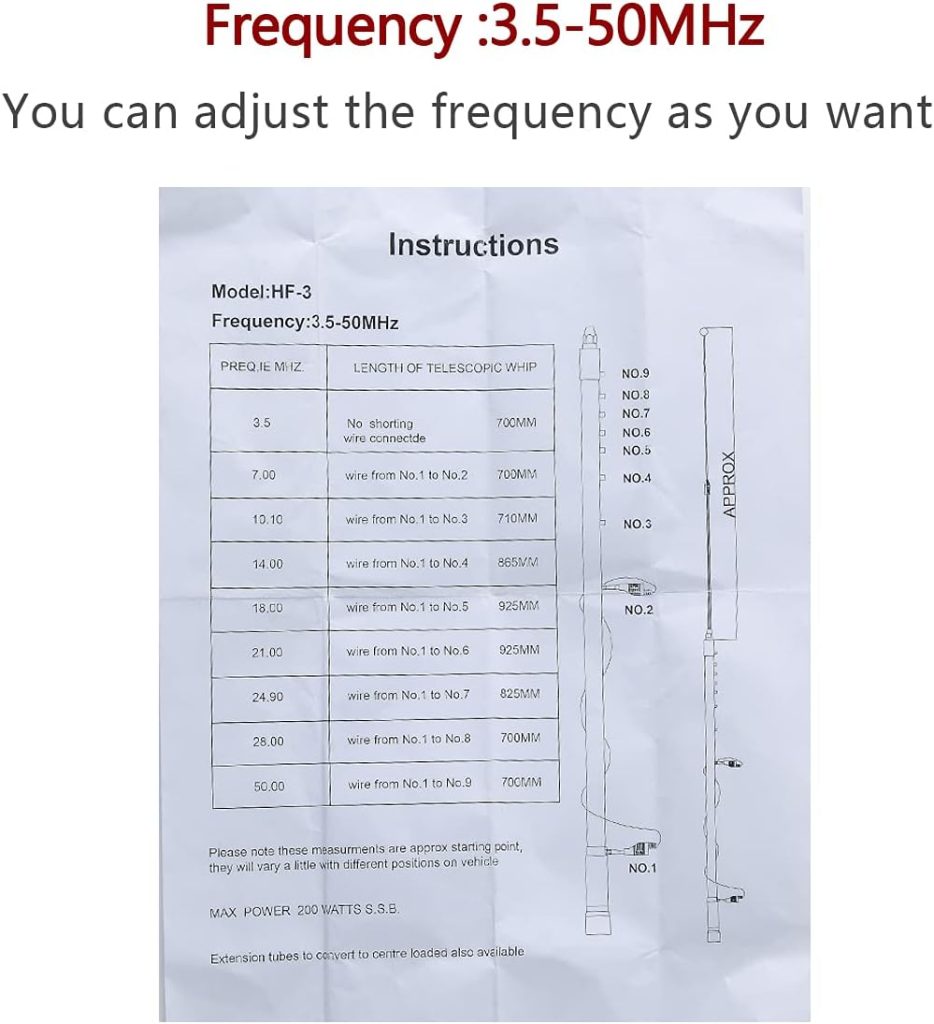
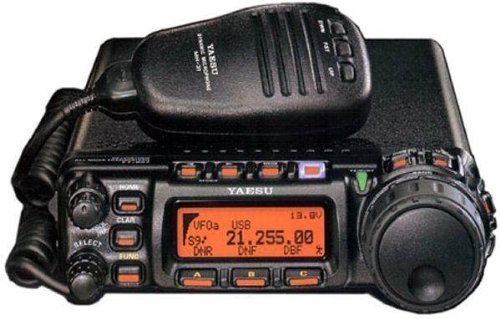
  After reaching the summit, it’s time to set up your station and get on the air. A lightweight, multi-band HF antenna is key for quick deployment. The


 Worldwide fast deliveries