1. Preparation
1.1 Requirements
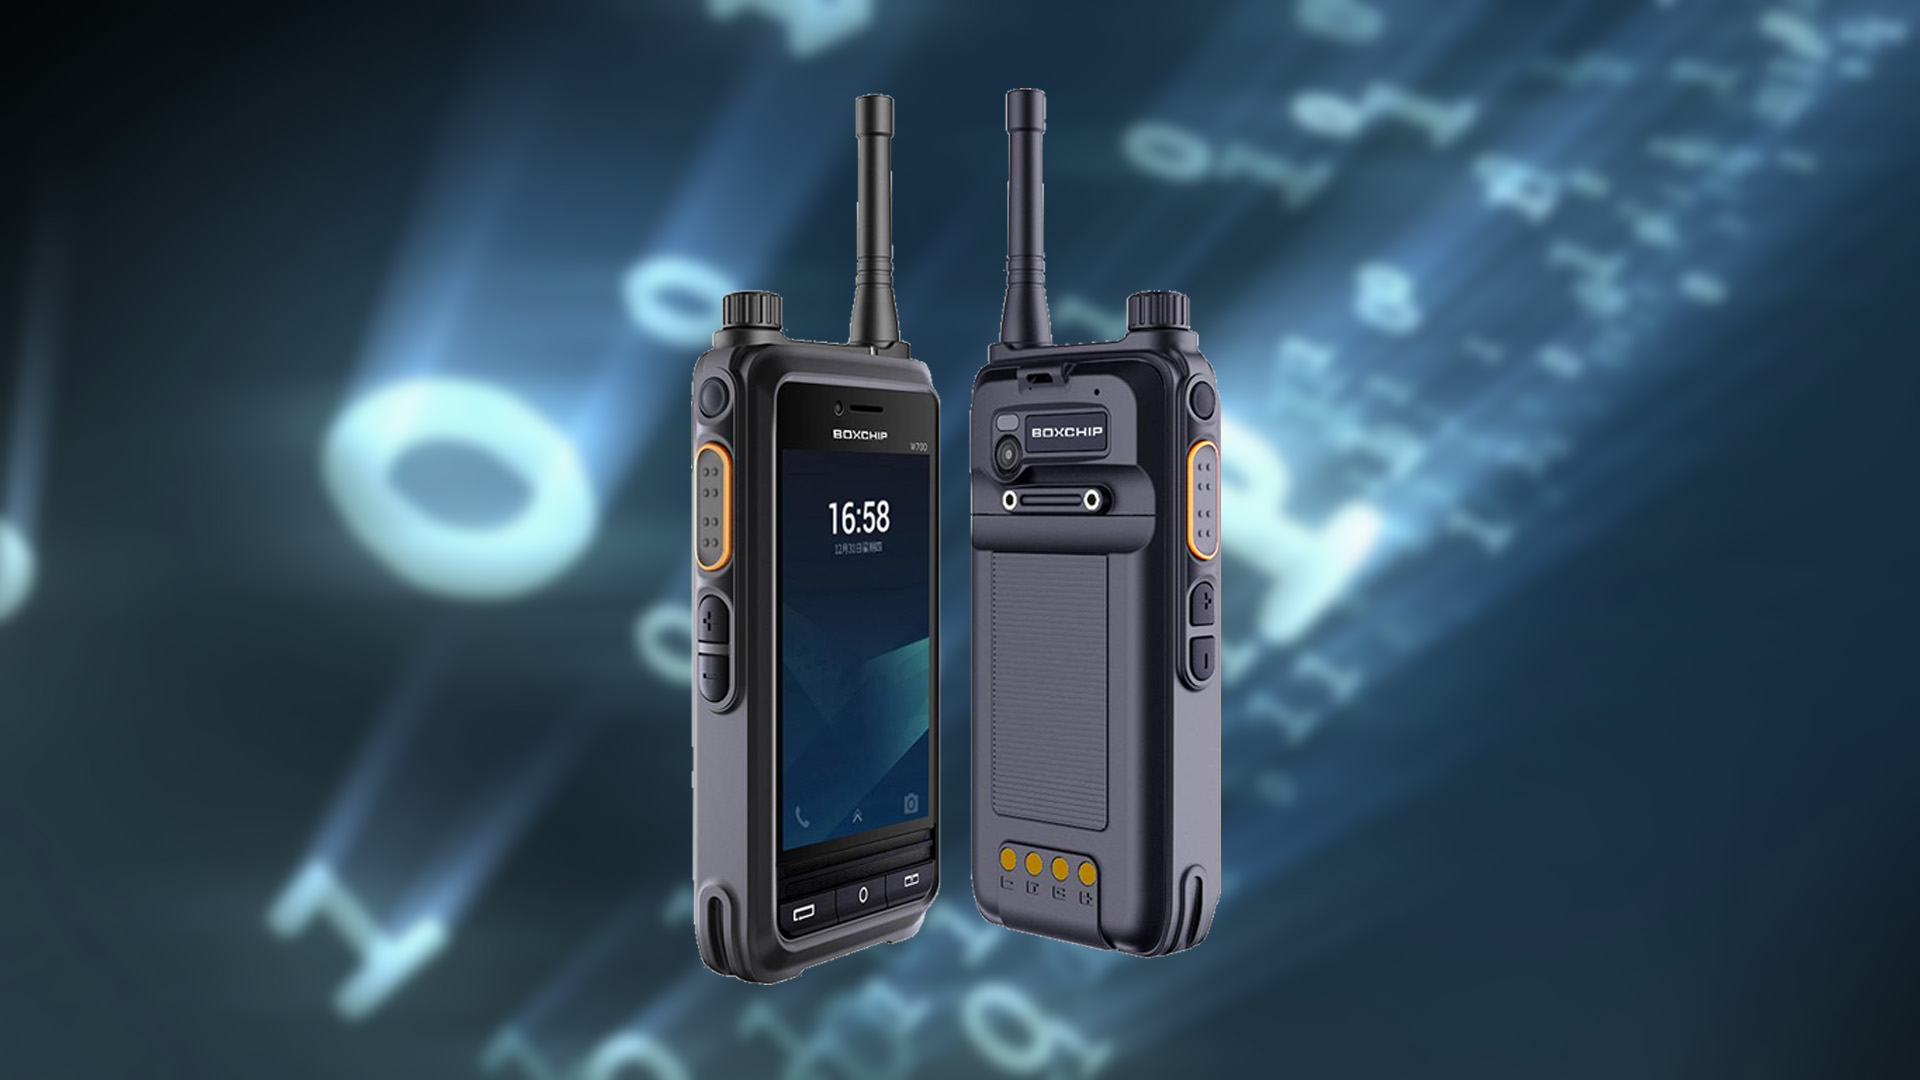
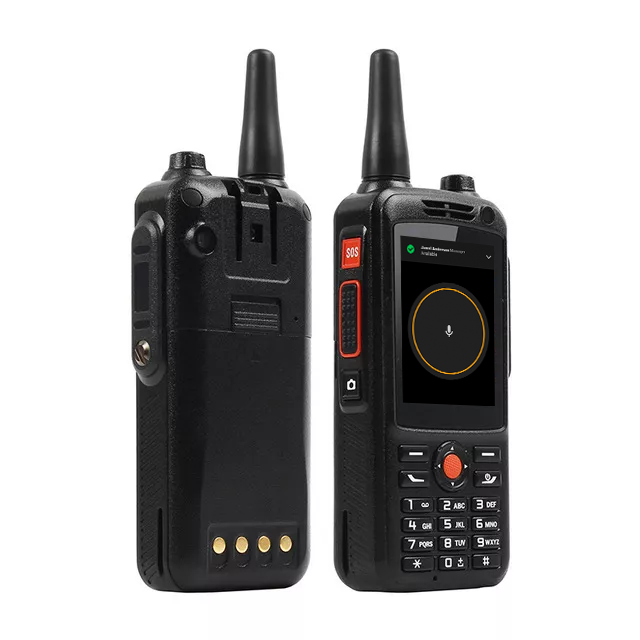
Please make sure your Boxchip S700A has enough battery capacity at first.
1 piece of Type-C USB cable and a computer with Windows 7 or above is necessary. The .Net Framework version should be not lower than 4.0.
Install the BPS installation package to anywhere you want.
1.2 Enable USB Debugging
We need enable USB Debugging in your device due to BPS read and write customization files via USB. We can enable it follow these steps:
a) Power on device;
b) Select “Settings->About Phone”;
c) Click “Builder number” 3 times quickly and you will see a tip;
d) Go back “Settings”, there is a “Developer options” menu item above “About phone”;
e) Select “Developer options” and turn “On” it;
f) Pull down till “USB Debugging” and enable it;
g) Connect device with computer by Type-C USB cable. You may see a fingerprint confirm for first time, check and agree it.
1.3 Clear Old Version Customization
Open device from “My Computer” in desktop, CUT the old version customization files if there are – the old version customization files should be in path “S700A\Internal Storage\CONTACTLIST.xls” and “S700A\Internal Storage\ PTT_CHANNEL_LIST_DATA.xls”, you can store these 2 files to computer disk.
1.4 Install New Version APK
Copy “DMR_V014_sign.apk” to “S700A\Internal Storage\” and install it, then we can program device.
2. Programming
2.1 Select A Device
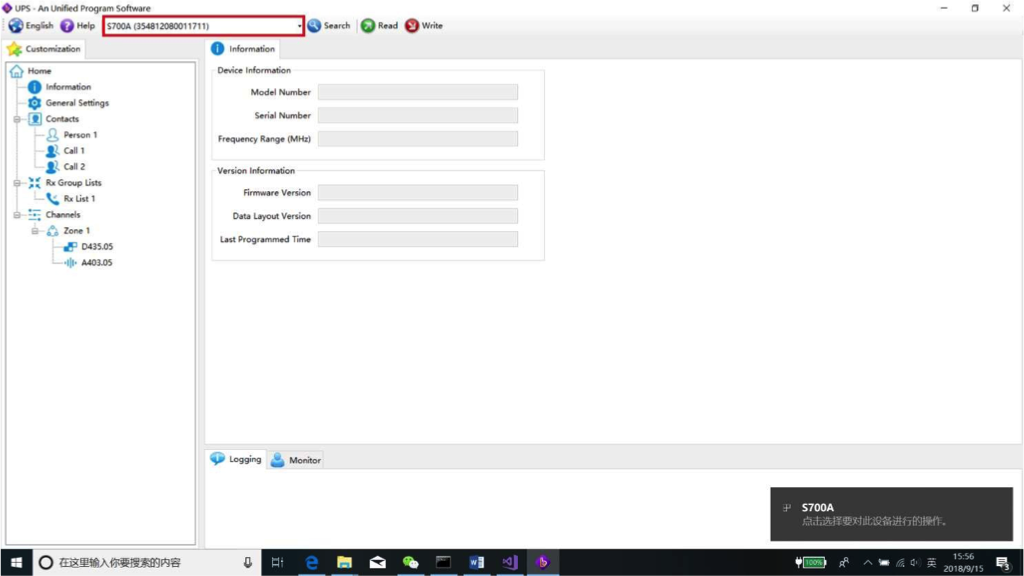
Generally, BPS will detect and select a device automatically when you opening as below screenshot. But please be noted that BPS doesn’t support multi-devices now.
Solution for BPS doesn’t detect a device, you maybe not need try every step:
a) Make sure “USB Debugging” is enabled;
b) Plug-pull USB cable several time;
c) Restart your device;
d) Restart your computer;
e) Install “adbdriver.zip” in your computer;
f) Finally copy “adb_usb.ini” to “C:\Users\Your Name\.android\”.
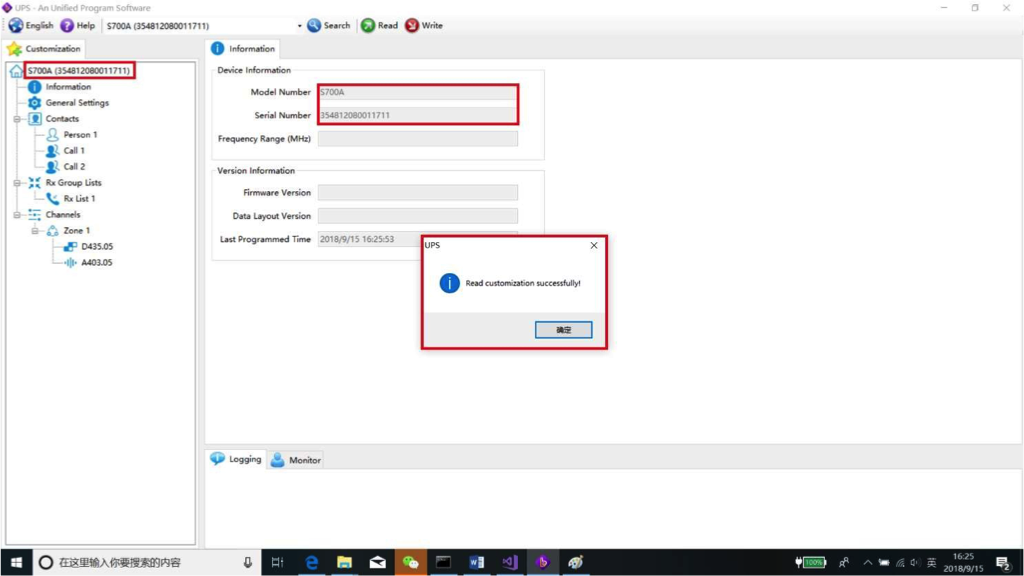
2.2 Read Customization
Click the green button to read customization from device, you will see “Model Number” and “Serial Number” is filled as below.
For first time you may get a read error due to there is no new customization in device, try write it then
read will be OK.
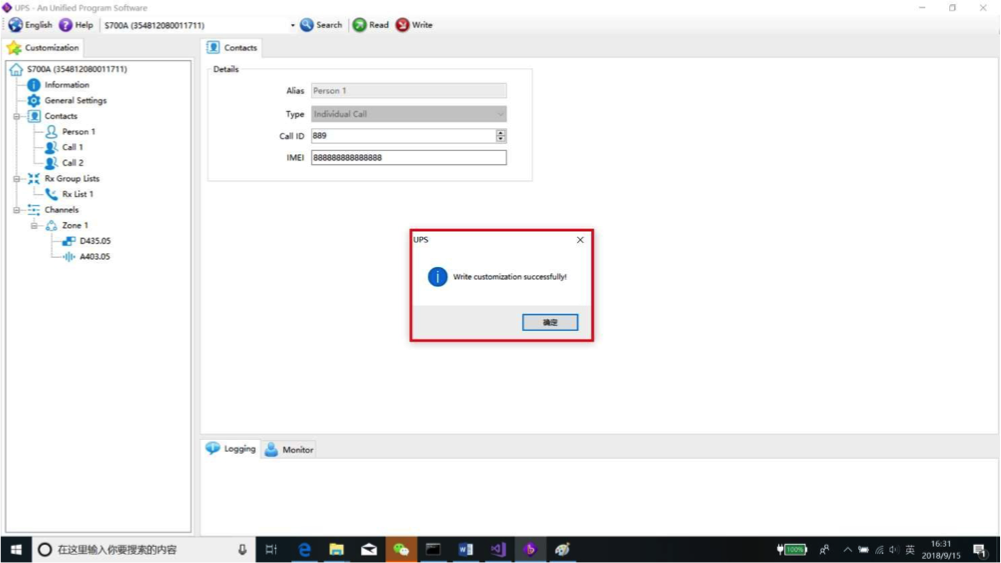
2.3 Write Customization
Customize all of parameters, then click the red button to write customization into your device.


 Worldwide fast deliveries