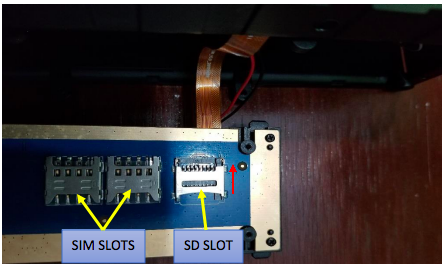
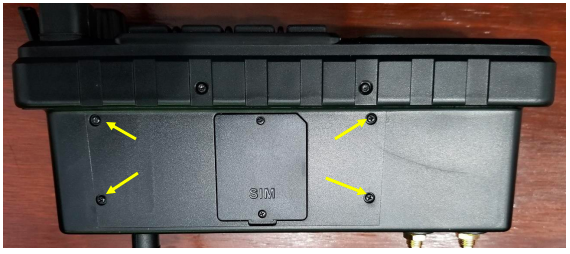
1. Remove all external screws except the four on the bottom of the radio.
Remove the four bottom screws last. These free the bottom PC board the SD card slot is mounted on. Do not remove SIM screws.
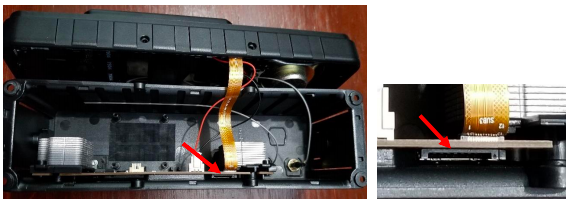
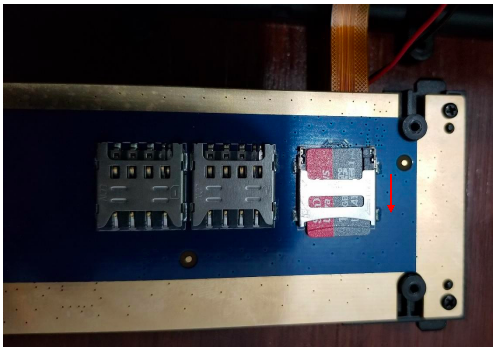
2. Open the radio case as seen below showing bottom PC board and SD slot (red arrow).
3. Remove bottom PCB carefully so as not to damage attached wires and ribbon cable and lay on a flat surface with card slot facing up.
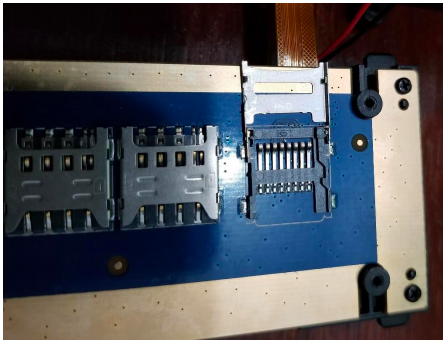
SD card slot cover is hinged. Slide cover in direction of the red arrow to unlock and open the cover.
4. Picture below shows SD card slot opened.
Place SD card onto slot with contacts facing down. Make sure side notch on the SD card matches up with notch of the card slot.
5. Close the cover making sure SD card remains in correct position.
Slide the SD card slot cover in the direction of the red arrow to lock in place.
6. Re-assemble case starting with the four screws holding the bottom PC board then all other remaining screws.
by N5MXI

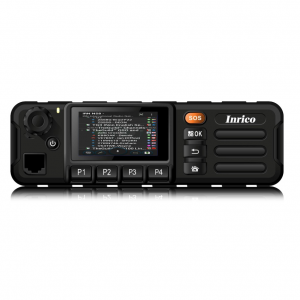 Read more about the Inrico TM-7



 Official RFinder shop
 Official Inrico shop
 Worldwide fast deliveries
Why have they not just added a slot in the side like normally would be done ?
Because it was designed for COMMERCIAL use where they don’t want the end user access to this stuff.
I see the TM8 is now available and the case is the same as the TM7 with no available slot for the SD card …? why they have done this and why after many requests the screen hasn’t been made bigger ??? , like move the buttons and widen the screen even a bit . I guess its all down to cost etc .. still a robust and good sounding radio/ptt smartphone . 2 sims but no phone use so im lead to believe .. why not 1 sim and SD card , so data card and memory card slots ..??
Back to cost I guess ? who knows whats gonna come out next .
The reason it’s hard to add another SIM or extra memory is because these radios are not meant to be used by hams. They are built for commercial operations, where you don’t want users to mess up with SIM cards, or SD cards. We as hams are just “adapting” them to our own use. 🙂 And we love them!