Description
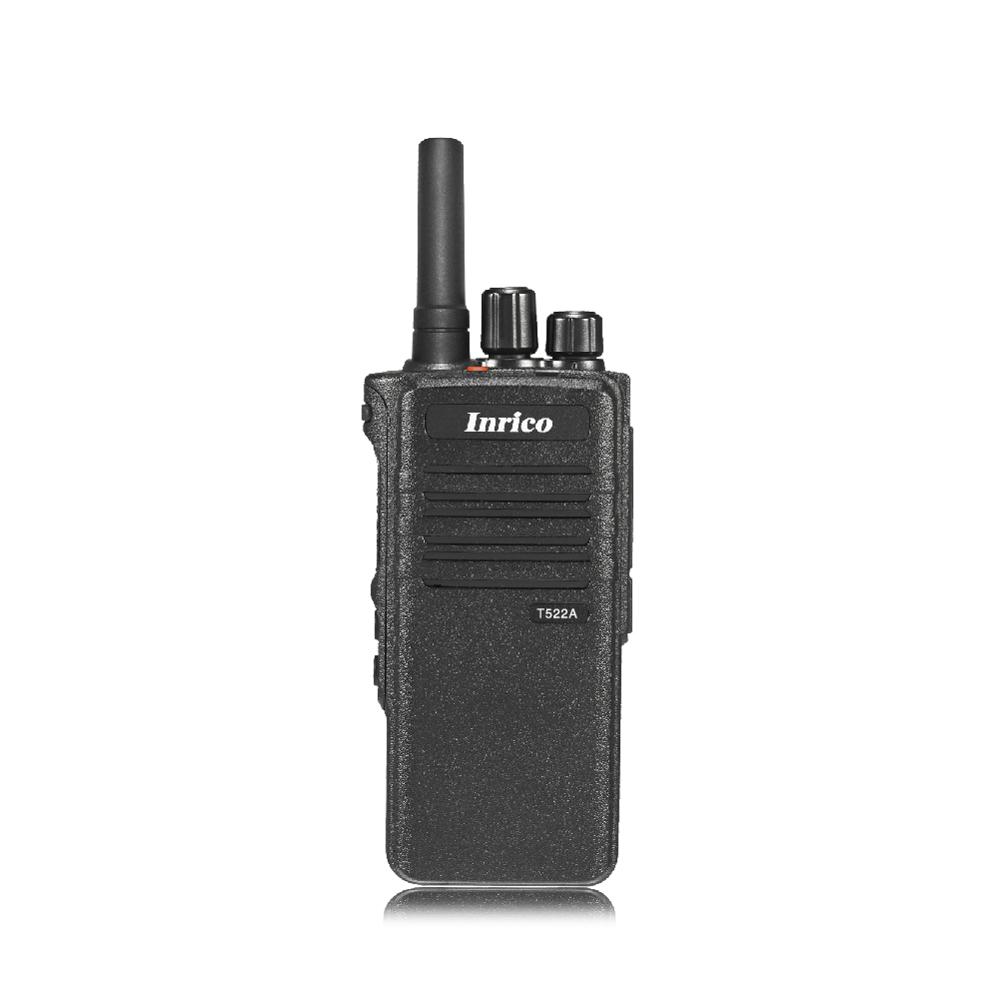
The Inrico T199 is a 3G / WiFi Android Radio, without display, for basic operation. You can install apps from your computer to the radio via the USB port.
Once the radio is connected to the computer, you use the console to program the app you want to use, like PTT4U or Zello.
Frequency Range:
GSM 850/900/1800/1900 MHz
WCDMA/3G: 850/2100 MHz
Chipset MK6572
OS: Android 4.4.2
GPS: Yes
Battery: 4000 mAh
Dim: 59x37x117mm
Weight: 220g
Memory: 4GB
Certificate: CE FCC Certificate
How do I configure Zello on an Inrico T199 network radio?
Beginning with version 4.08, the Zello Android app will support screenless network radios like the Inrico T199 shown below:
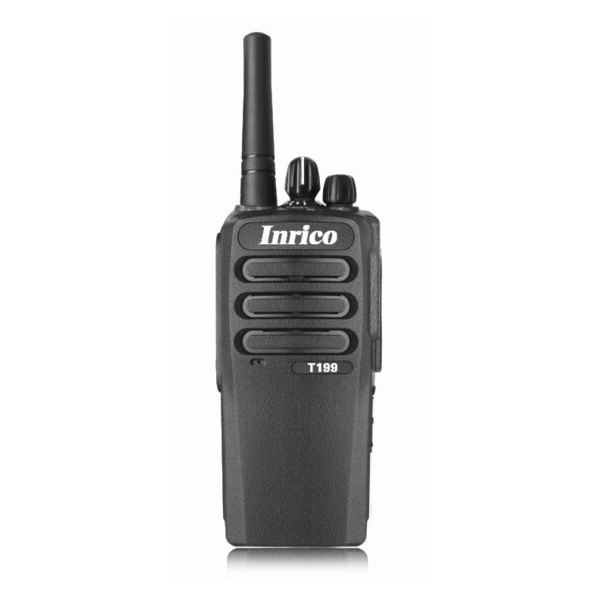
To set up and configure Zello for the Inrico T199 follow these steps.
Installing the Zello app and configuring an account
Since the device doesn’t have a screen, you’ll need to use a computer to configure it.
- Download an Android remote control application to your computer. For example, Vysor is one such app that works on both Mac and Windows PCs. NOTE: Zello is not affiliated with, or endorsing, Vysor.
- Connect the Inrico T199 to your computer using a USB cable.
- Use Vysor to configure the device and install Zello from Google Play or the Zello website.
Mapping the push-to-talk button and secondary buttons
- In the Zello app, go to Menu>Options>Push-to-talk buttons.
- Click the “+” icon, then press the PTT button on the side of the device. The Zello PTT button will be added to the list.
- Repeat for additional buttons.
- For each button added to the list, you can edit button details and select a specific channel or contact to key up with when the button is pressed. This is especially useful for secondary buttons. For example, you can have secondary buttons mapped to an emergency channel or contact so they are always accessible.
Mapping Zello channels and contacts to the Inrico channel knob
The Inrico T199 radio includes a knob that allows you to switch through channels. To map Zello channels to channel numbers on the T199, do the following from the Zello app:
- Open the “Channels” screen and then click on the channel that you want to map. The talk screen for this channel will display.
- From the talk screen, click on the arrow down icon, then select “Rename channel”.
- Change the channel name to include a two-digit numerical prefix matching the number of the channel on the knob. For example, if you have a channel named “CB Friends” and you want to map it to position #13 of the knob, rename it to “13 CB Friends”. For channels with numbers under 10 use a leading zero (i.e. “01”, “02” etc). You can map up to 16 channels and contacts combined.
- Exit the channel talk screen and then rotate the knob to test your changes. When the channel is selected, its name will be announced using text-to-speech. The channels are switched in their numerical order. For example if you have channels 01, 07 and 13 assigned, rotating the knob will make channels switch in the following order: 01 -> 07 -> 13 -> 01 -> 07, etc.
- Repeat steps 1-4 for all of the channels and contacts that you need to map. However, for contacts, instead of selecting “Channels” in step 1, you would open the “Contacts” screen and then select and rename the contacts you want to map. Be careful to use unique prefixes for different channels and contacts.
Please note that when using ZelloWork channel and usernames, the display names are controlled centrally in the ZelloWork web management console. To ensure the correct order of channels and contacts, make sure to rename them appropriately with the management console.





 Official RFinder shop
 Official Inrico shop
 Worldwide fast deliveries
Reviews
There are no reviews yet.